Lawn Mowers: How to Sharpen Blades the Right Way
Lawn mowers need proper care and maintenance to deliver the best performance over the long term. In addition to regular cleaning and checking the drive system, regularly sharpening the lawn mower blade plays a crucial role in cutting performance. This guide explains how to sharpen your blade correctly.
Why does your lawn mower blade need to be sharpened?
A sharp blade is essential for a clean, precise cut. Over time, frequent use and hitting twigs, stones, and other small obstacles will dull your lawn mower's blade. The result: grass blades are no longer cleanly cut, but rather torn and shredded.
How do I know if my lawn mower blade needs sharpening?
The appearance of your cut grass is the best indicator to determine if sharpening is needed. Grass blades cut with a dull mower blade will look frayed. They dry out, and the tips turn gray. If your lawn shows these signs, it is time to sharpen your lawn mower blade.
Guide: How to Sharpen Lawn Mower Blades Yourself
If you have a bit of DIY skill, you can sharpen the blade yourself and save a trip to the specialist dealer or locksmith. Having the right equipment is key.
Tool List
- Wheel balancer
- Hex key
- Open-end wrench without ratchet
- Pipe wrench
- Angle grinder
- Screwdriver
- Vise
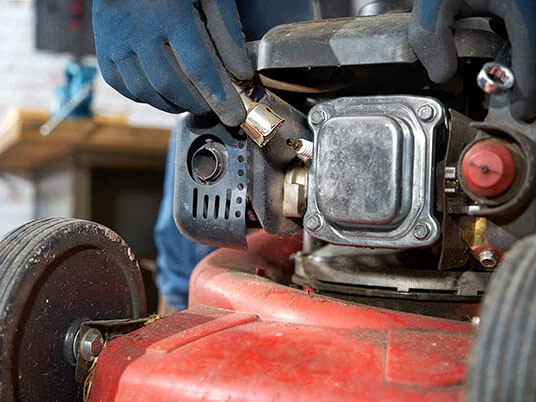
Step 1: Safely switch off the mower
Safety is the top priority. Make sure that the device cannot be started accidentally. This means: for a gas lawn mower, disconnect the spark plug connector; for an electric lawn mower, unplug it from the power source; or remove the battery from a cordless lawn mower. In addition, observe the applicable safety instructions from the respective manufacturer. This minimizes the risk of injury and allows you to safely remove the blade.
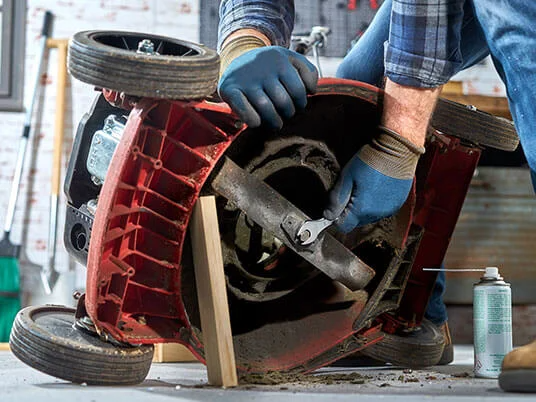
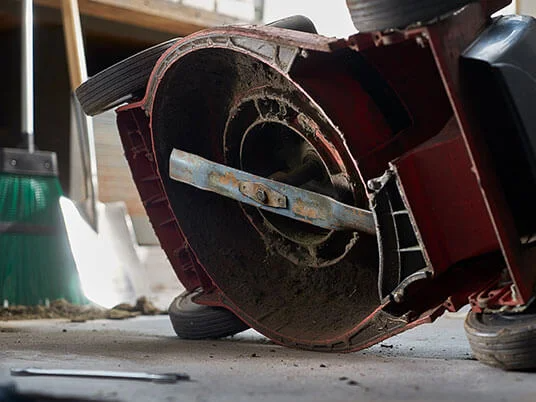
Step 2: Remove the lawn mower blade
Before you begin removing the blade, it is worth taking a look at the lawn mower's instruction manual. It explains how to remove the blade correctly. Otherwise, proceed as follows: Turn the lawn mower on its side so that you can easily reach the rotor blade. Depending on the type of screw used, you will need one or more wrenches or the help of pipe wrench to loosen the blade from the motor mount.
To prevent oil from leaking from a gas lawn mower, do not tilt it completely on its side.
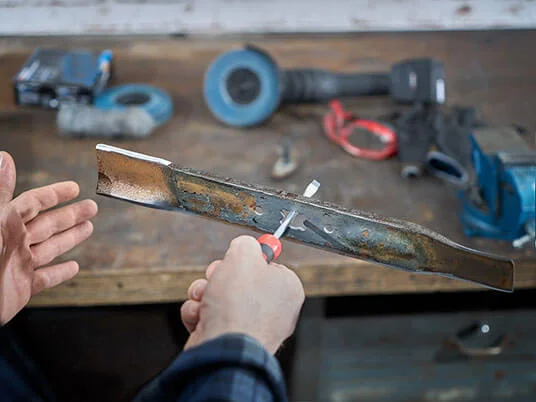
Step 3: Clean and check the blade
The removed blade is now cleaned. Dirt and grass residue can easily be removed with a cloth. Next, you should check the lawnmower blade for damage. If the blade has been too badly damaged or bent by stones or similar foreign objects in the lawn, it is best to replace it with a new blade right away.
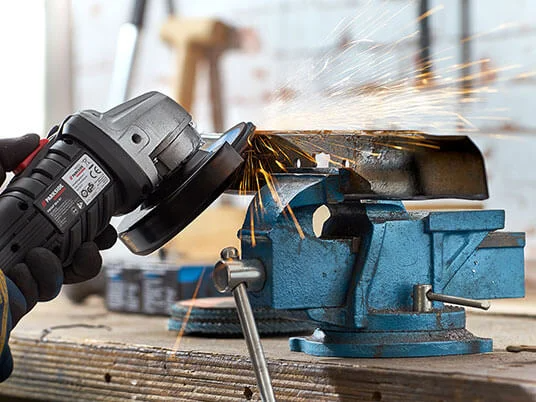
Step 4: Sharpen the lawnmower blade
To sharpen the blade, clamp it securely in a vise. This ensures that the blade does not slip while you are grinding. For sharpening, you can use an angle grinder with flap discs. Grind the visible cutting edges at the ends of the blade one after the other by gently running the angle grinder over the corresponding upper side. Be careful to maintain the original angle of the cutting edge and not to remove too much material. The underside of the cutting edges is not ground.
If you do not have an angle grinder, you can use a set of files. Although this requires more effort, it also leads to a good result. Work from coarse to fine: start with a coarse file, remove old burrs, and restore the cutting edge. You can then round off the result with a finer file.
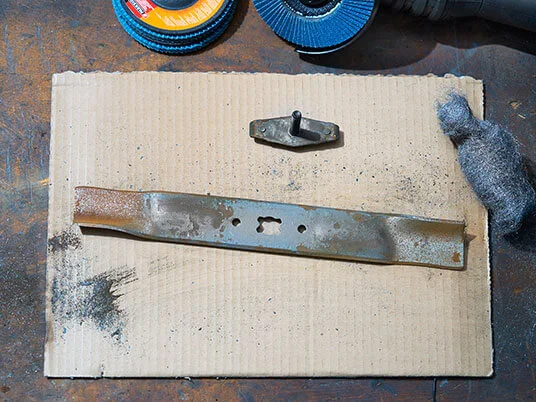
Step 5: Balancing the blade
Sharpen the blade so that an equal amount of material is removed from both ends. Otherwise, an imbalance will occur and the blade will become uneven. To determine if the blade is balanced, you can place it through the center hole onto a horizontally held screwdriver. If the blade ends remain at the same height, the blade is balanced. If, on the other hand, the blade tilts to one side, you need to remove a little more material on that same side. Otherwise, the resulting imbalance will damage the lawnmower's motor bearing later when mowing.
To get an even more precise result when balancing the lawnmower blade, a special balancing tool can be used. This is available from specialist retailers.
Step 6: Install the blade
Once the blade is sharpened and balanced, you can reinstall it. Make sure to put all screws and washers back in their correct positions. Do not restart the lawnmower until it is back on the ground and you are absolutely sure that all parts are securely tightened.
What protective clothing should be worn when sharpening?
Protective clothing should always be worn when sharpening. This minimizes the risk of injury and health hazards. To protect against sharp blades and fine metal particles, the following are highly recommended:
- Gloves
- Respirator mask
- Safety goggles
Questions and Answers
How often a mower blade needs to be sharpened depends on how frequently it is used. Frequent mowing or a lawn littered with many stones and branches will cause the blade to dull more quickly. However, the lawn mower blade should definitely be sharpened at least once a season.