Cutting Laminate: It’s That Easy!
Does cutting laminate sound like a job for DIY pros? Not necessarily. With the right tools and a few tips, you can cut your flooring to the perfect size and make expert cuts even as a DIY beginner.
What matters most?
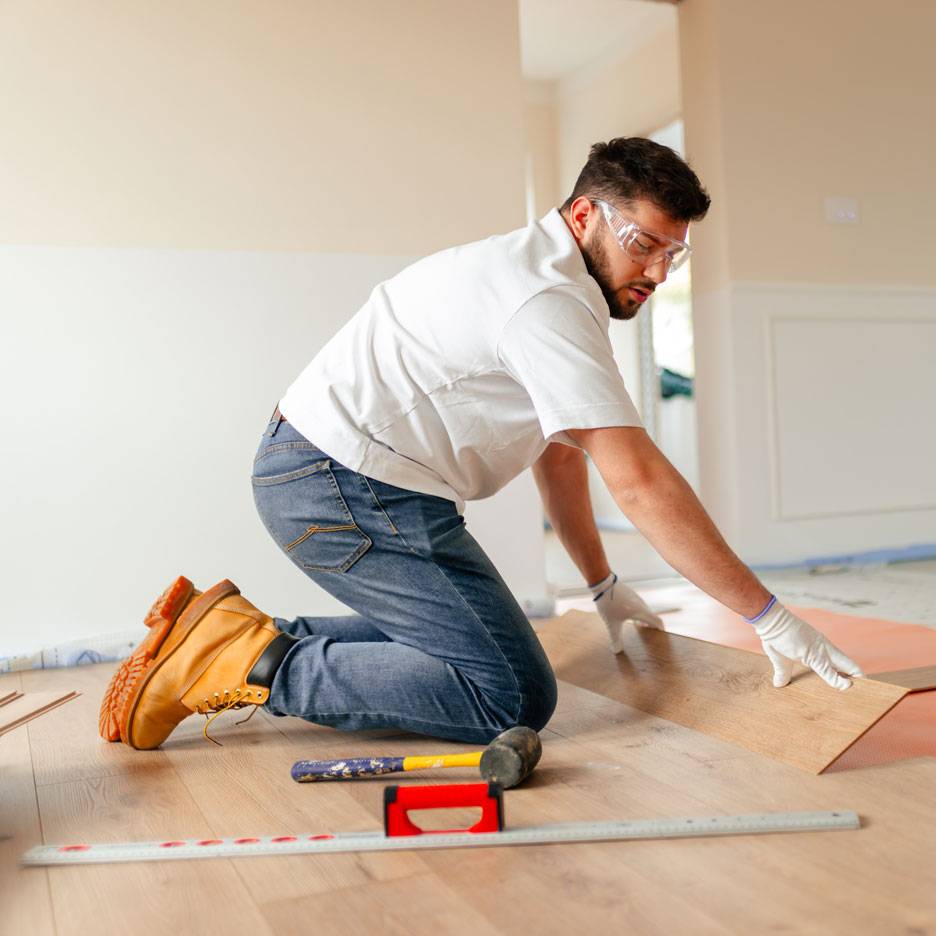
When laying laminate or other solid flooring, every millimeter counts. That is why the rule is: measure thrice, cut once! Your safest bet is to work with digital measuring tools that save you the hassle of manual calculations.
Before you dive into the actual project, you should practice cutting the laminate. Grab your tools, a laminate plank, and get started. This will help you get a feel for the force required, how the saws behave, and so on.
Plus, cutting and laying laminate is a team effort. Working together, you can achieve greater precision, avoid mistakes more easily, and have a lot more fun! One person holds, one person cuts – a perfect fit every time.
What works best?
Laminate is quite durable, but it can be easily cut with various cutting tools. Power or manual, specialized tool or all-rounder: you have many options for adjusting your flooring. We look at the pros and cons of different tools.
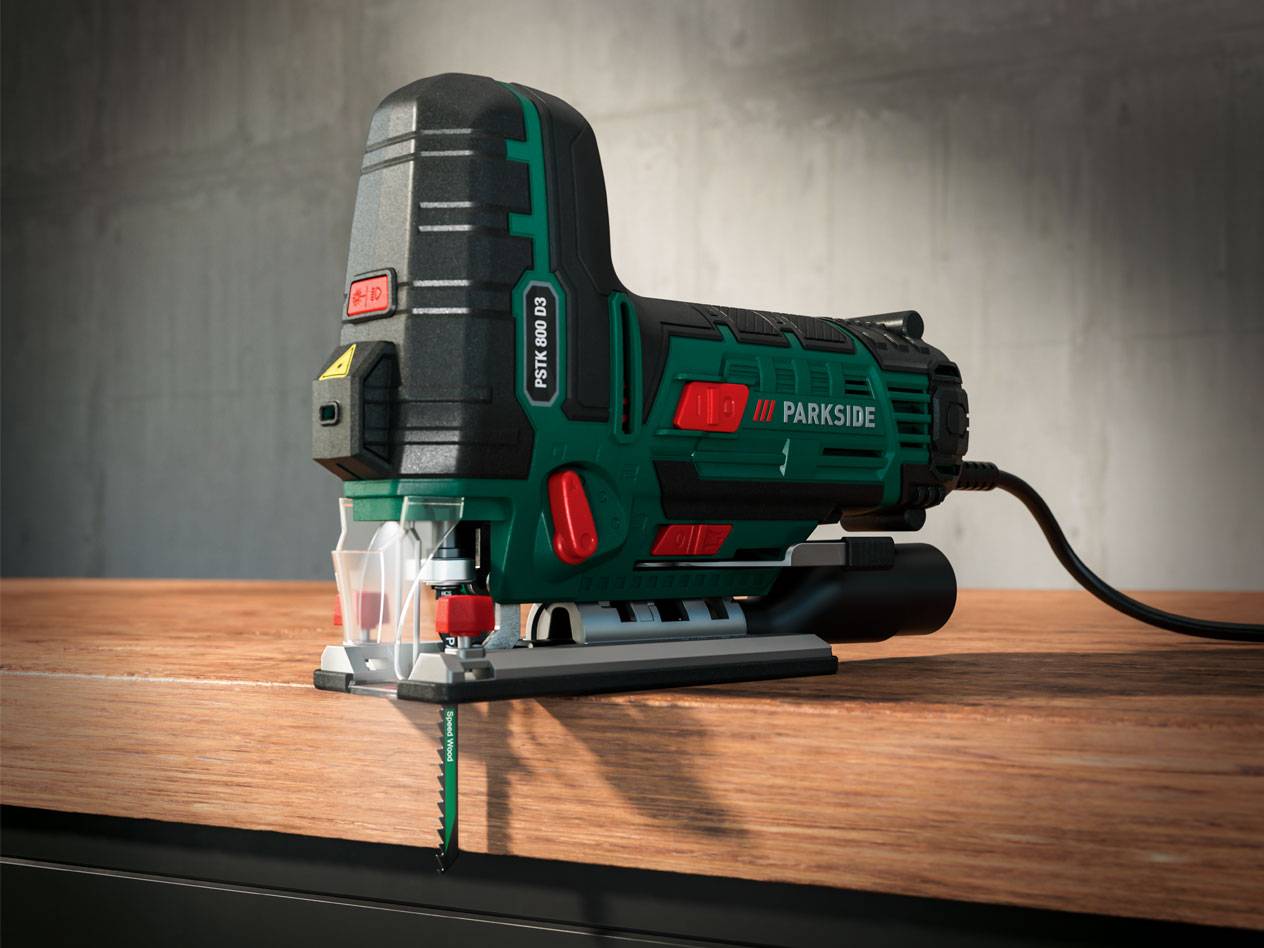 How to cut laminate with a jigsaw
The jigsaw is a versatile tool for laminate, perfect for making cutouts around pipes or walls. Use specialized blades and guide them safely with a little practice. Keep an eye on dust buildup and have spare blades on hand to avoid any project delays.
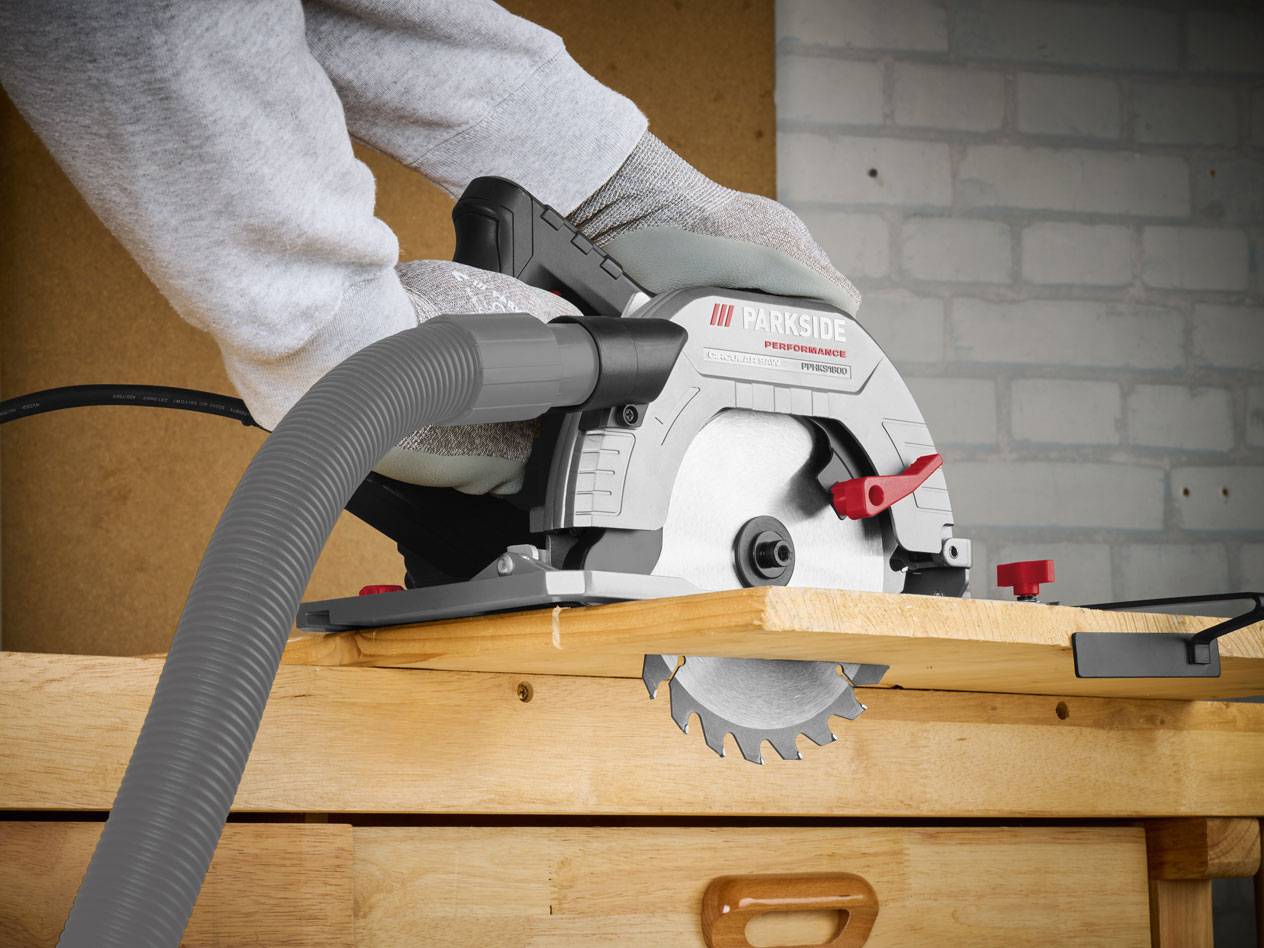 Cutting laminate with a circular saw
The circular saw delivers precise and perfectly straight cuts. However, you'll need to secure the laminate firmly to achieve this. That's not always easy—it works best using a workbench or sawhorses.
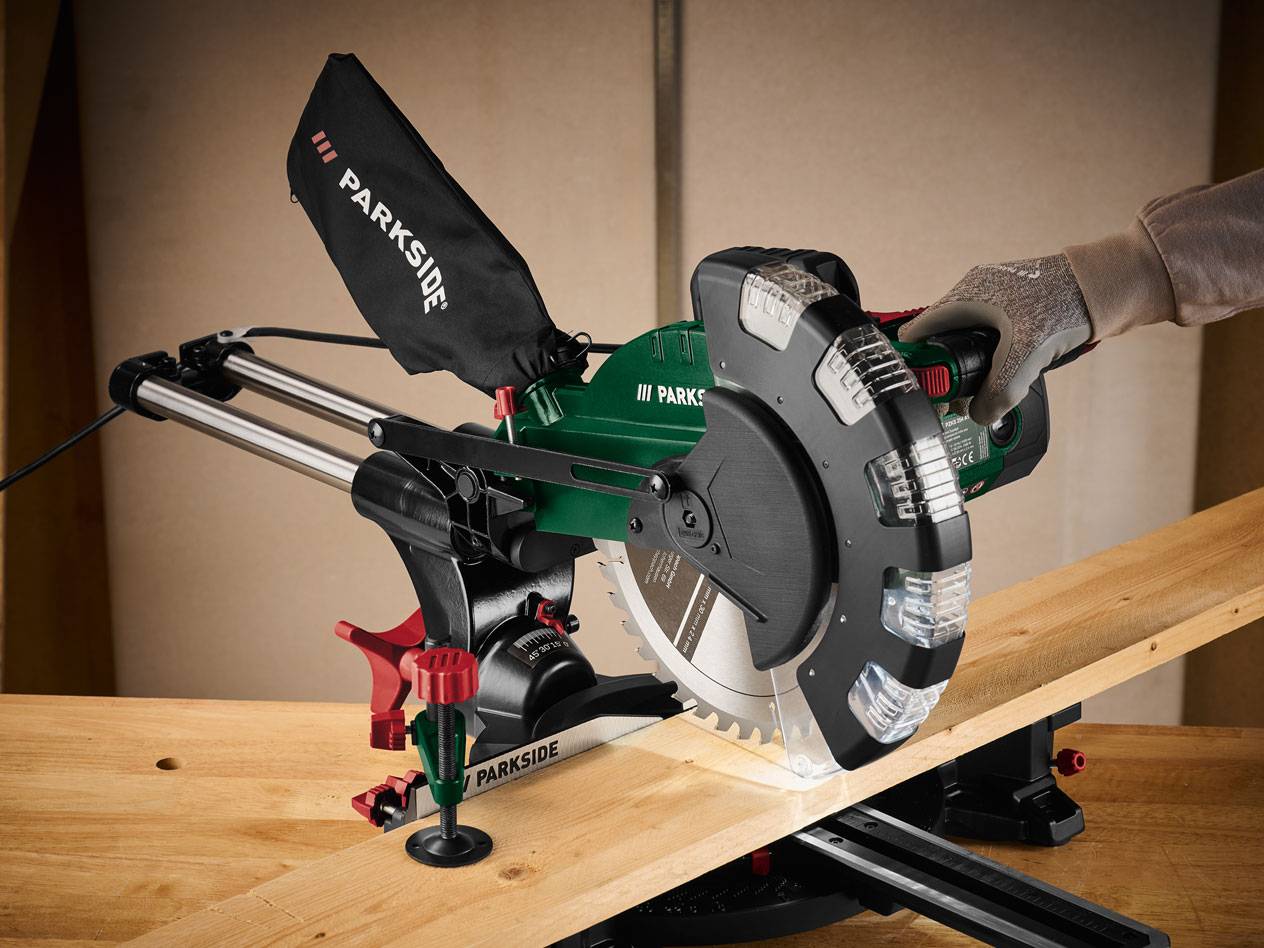 How to cut laminate with a miter saw
A miter saw also delivers clean, precise cuts. It is easy to operate and, depending on the model, can also make angled cuts. It is sturdy and larger—making it best suited for a permanent spot in your workshop.
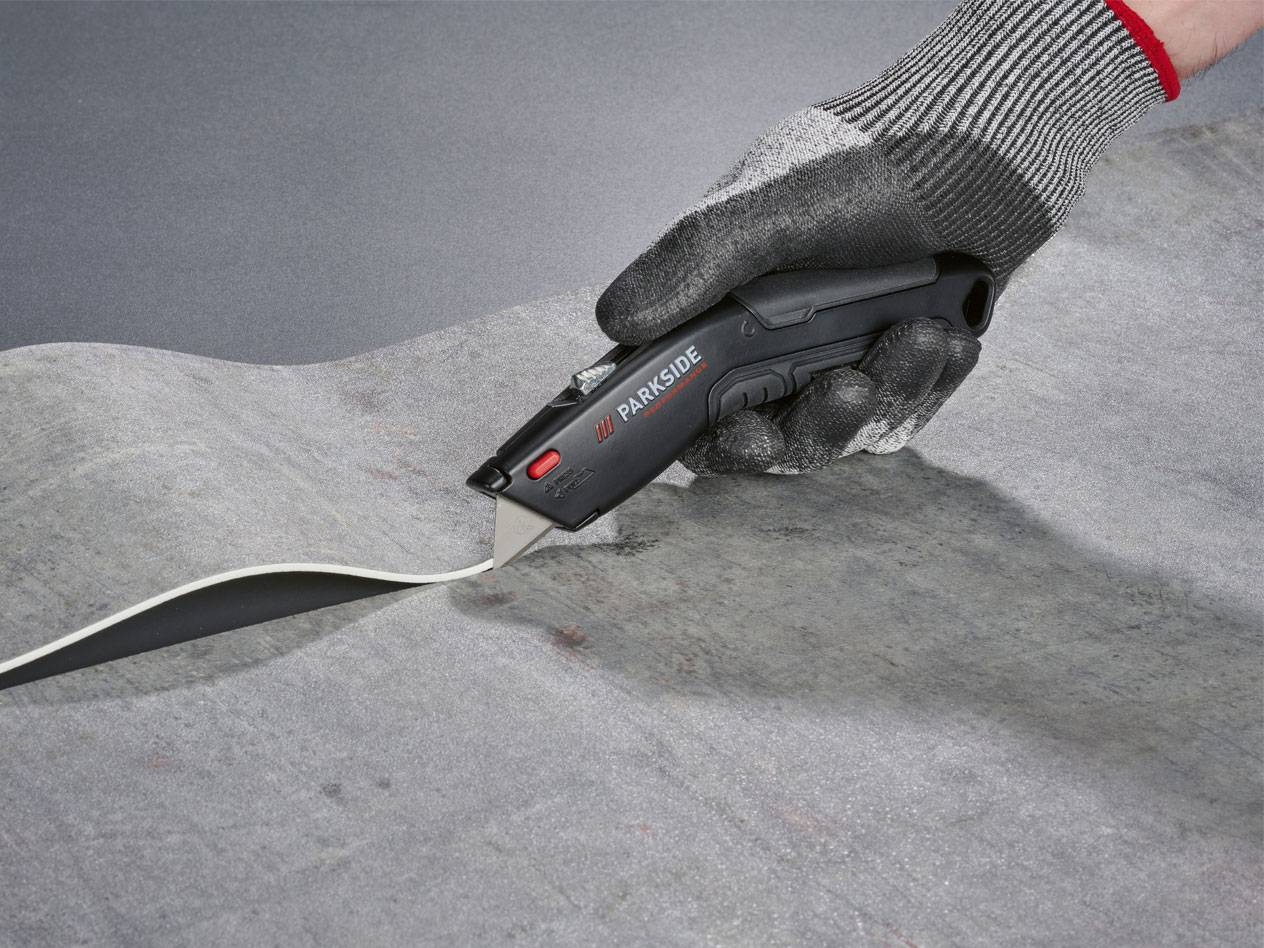 How to cut laminate with a utility knife
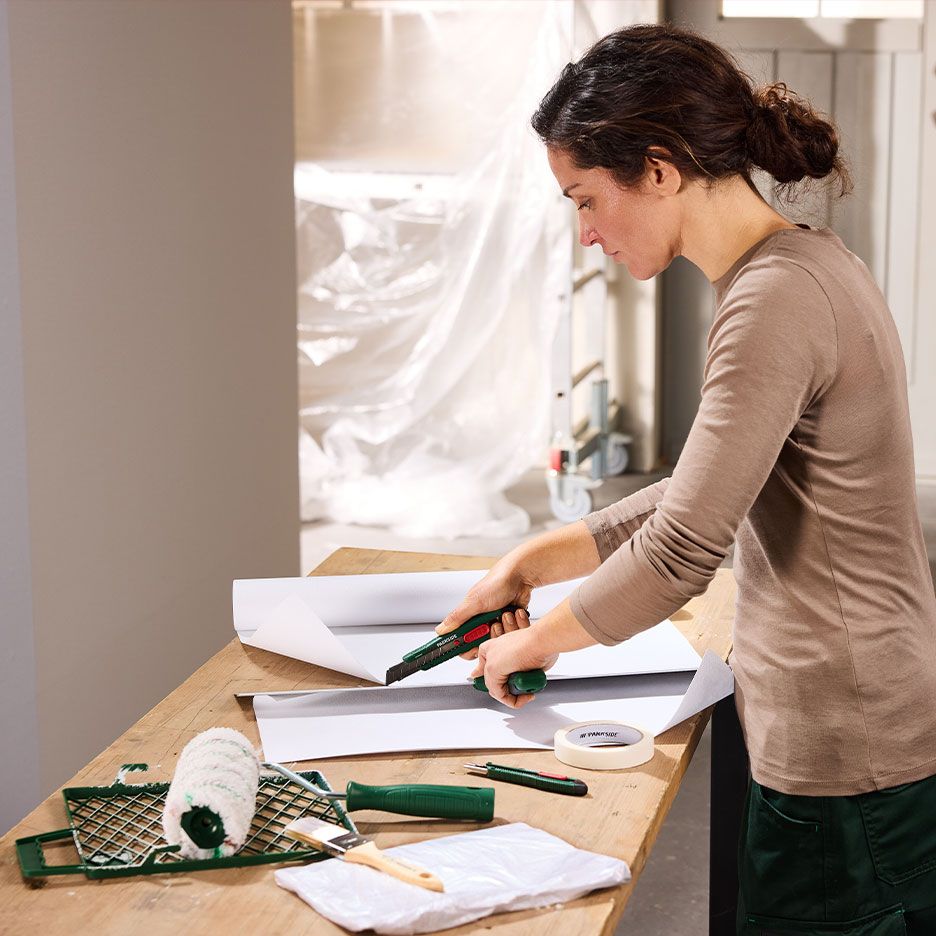
Should you cut or saw click vinyl? Use a professional utility knife! Cut on the underside to prevent fraying. For straight cuts without electricity, a laminate cutter is also suitable for any laminate – efficient and clean.
Step-by-Step Guide: Cutting Laminate with a Jigsaw
Before you get started, store the laminate for at least 48 hours in the room where it is to be installed. This allows the wood to adapt to the humidity and prevents it from warping later on. Then, proceed as follows:
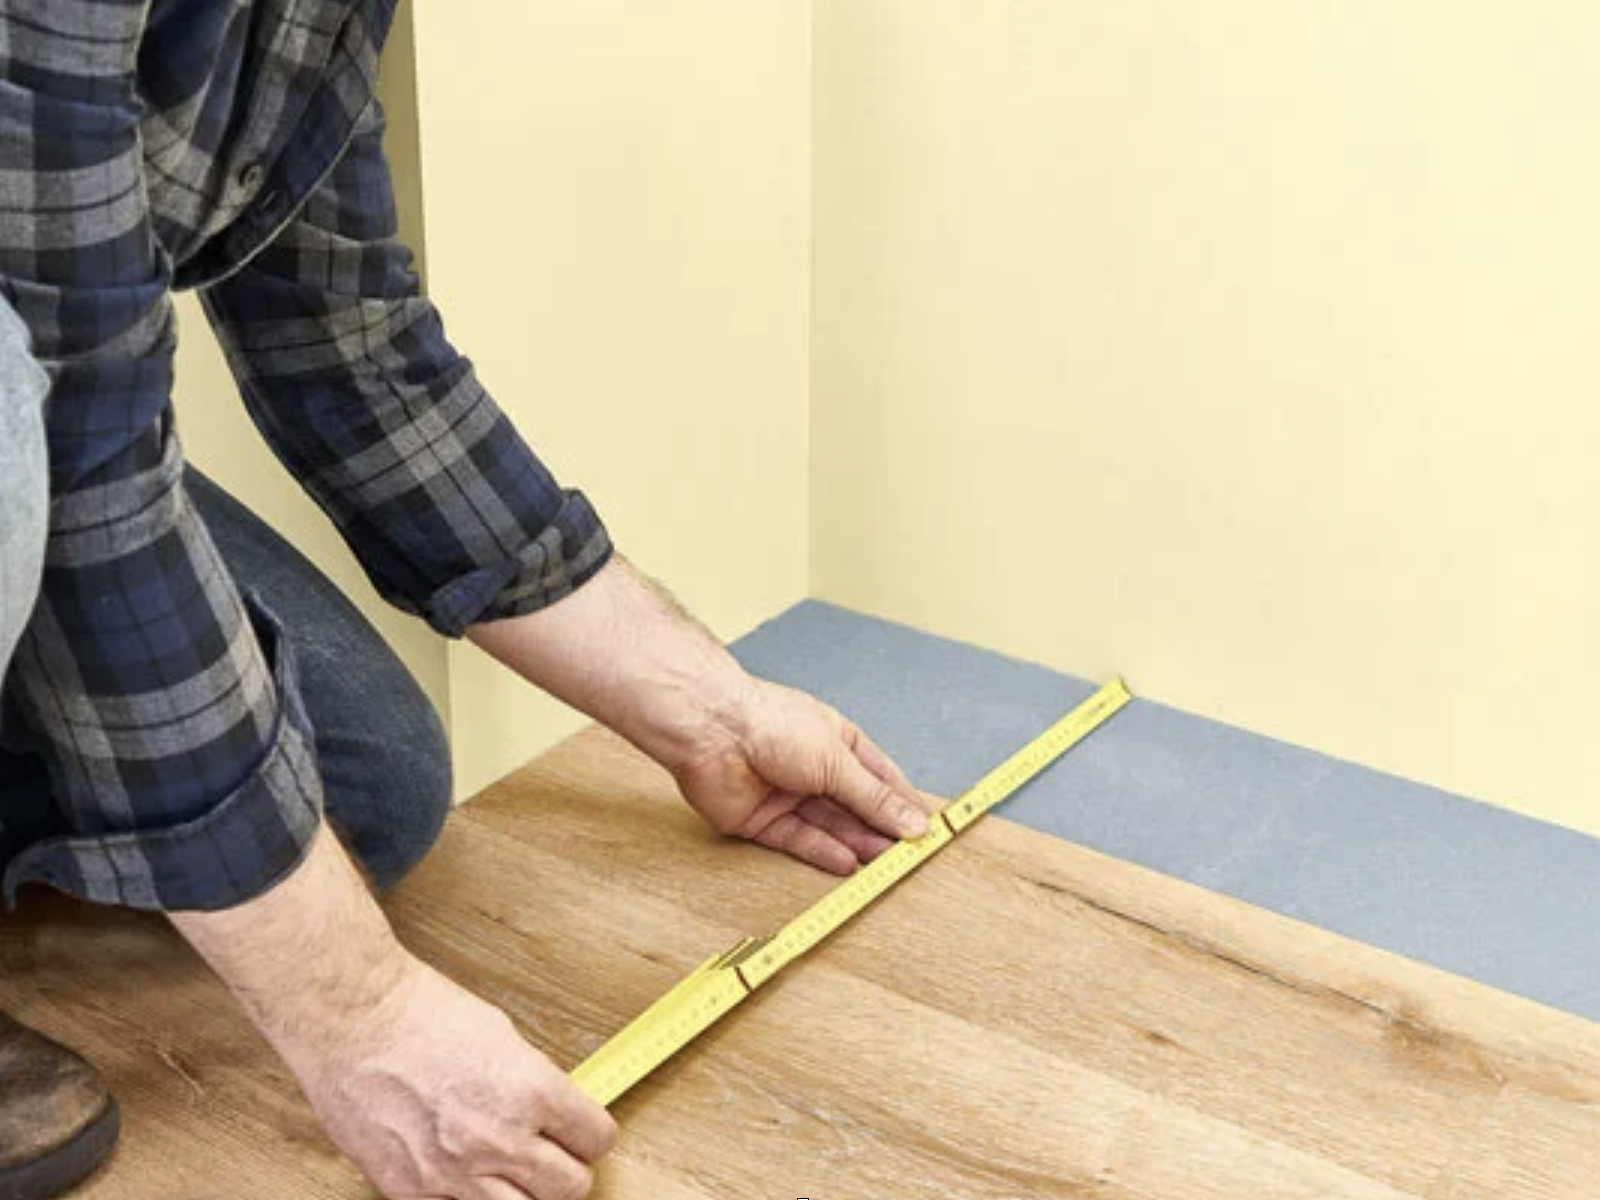 Step 1: Measure
Measuring is key to installing and cutting laminate correctly. Keep in mind that your laminate needs expansion joints along the edges, and be sure to factor in waste. Always double-check each row and plank before making any cuts.
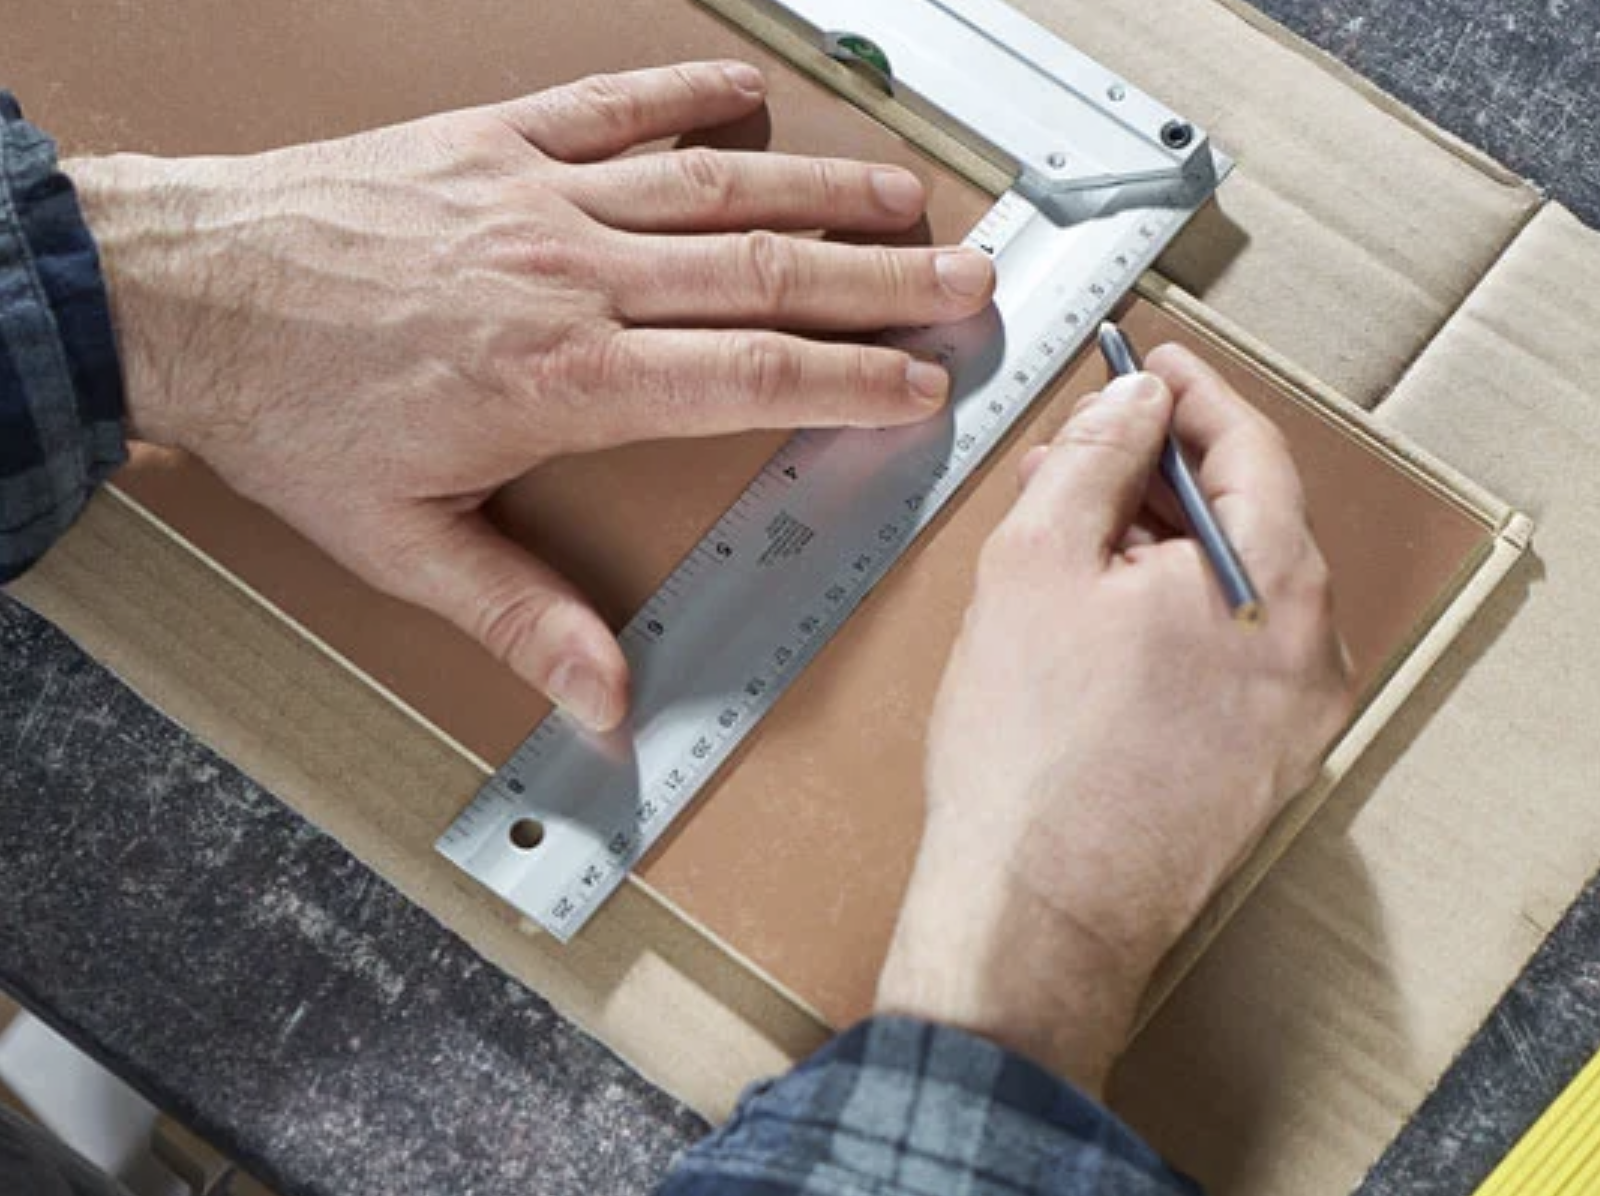 Step 2: Record
Mark the cut on the back of the panel – preferably with a felt-tip marker so you can still see the line even if it gets very dusty.
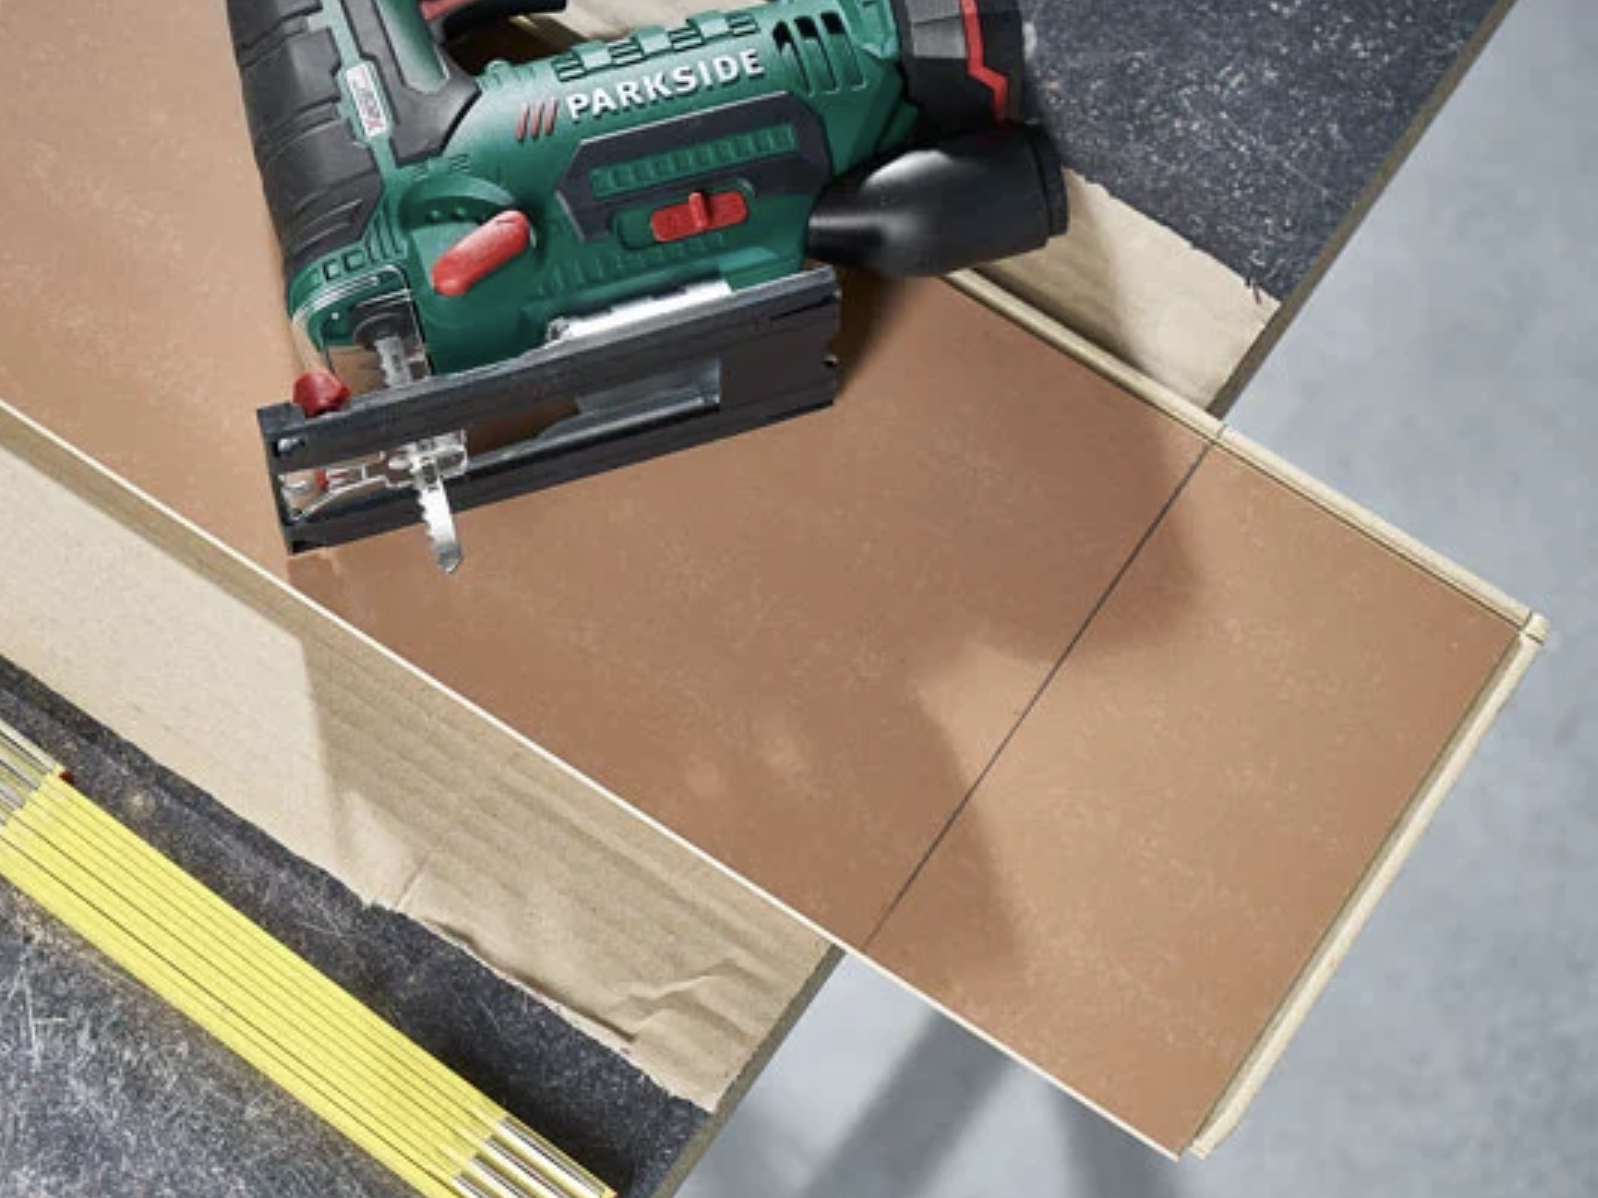 Step 3: Get ready
Place the panel face down on a table or workbench, letting the section to be cut hang over the edge. To prevent scratches on the decorative side, it is best to place cardboard underneath. A workbench with a cutout for the cutting area is ideal.
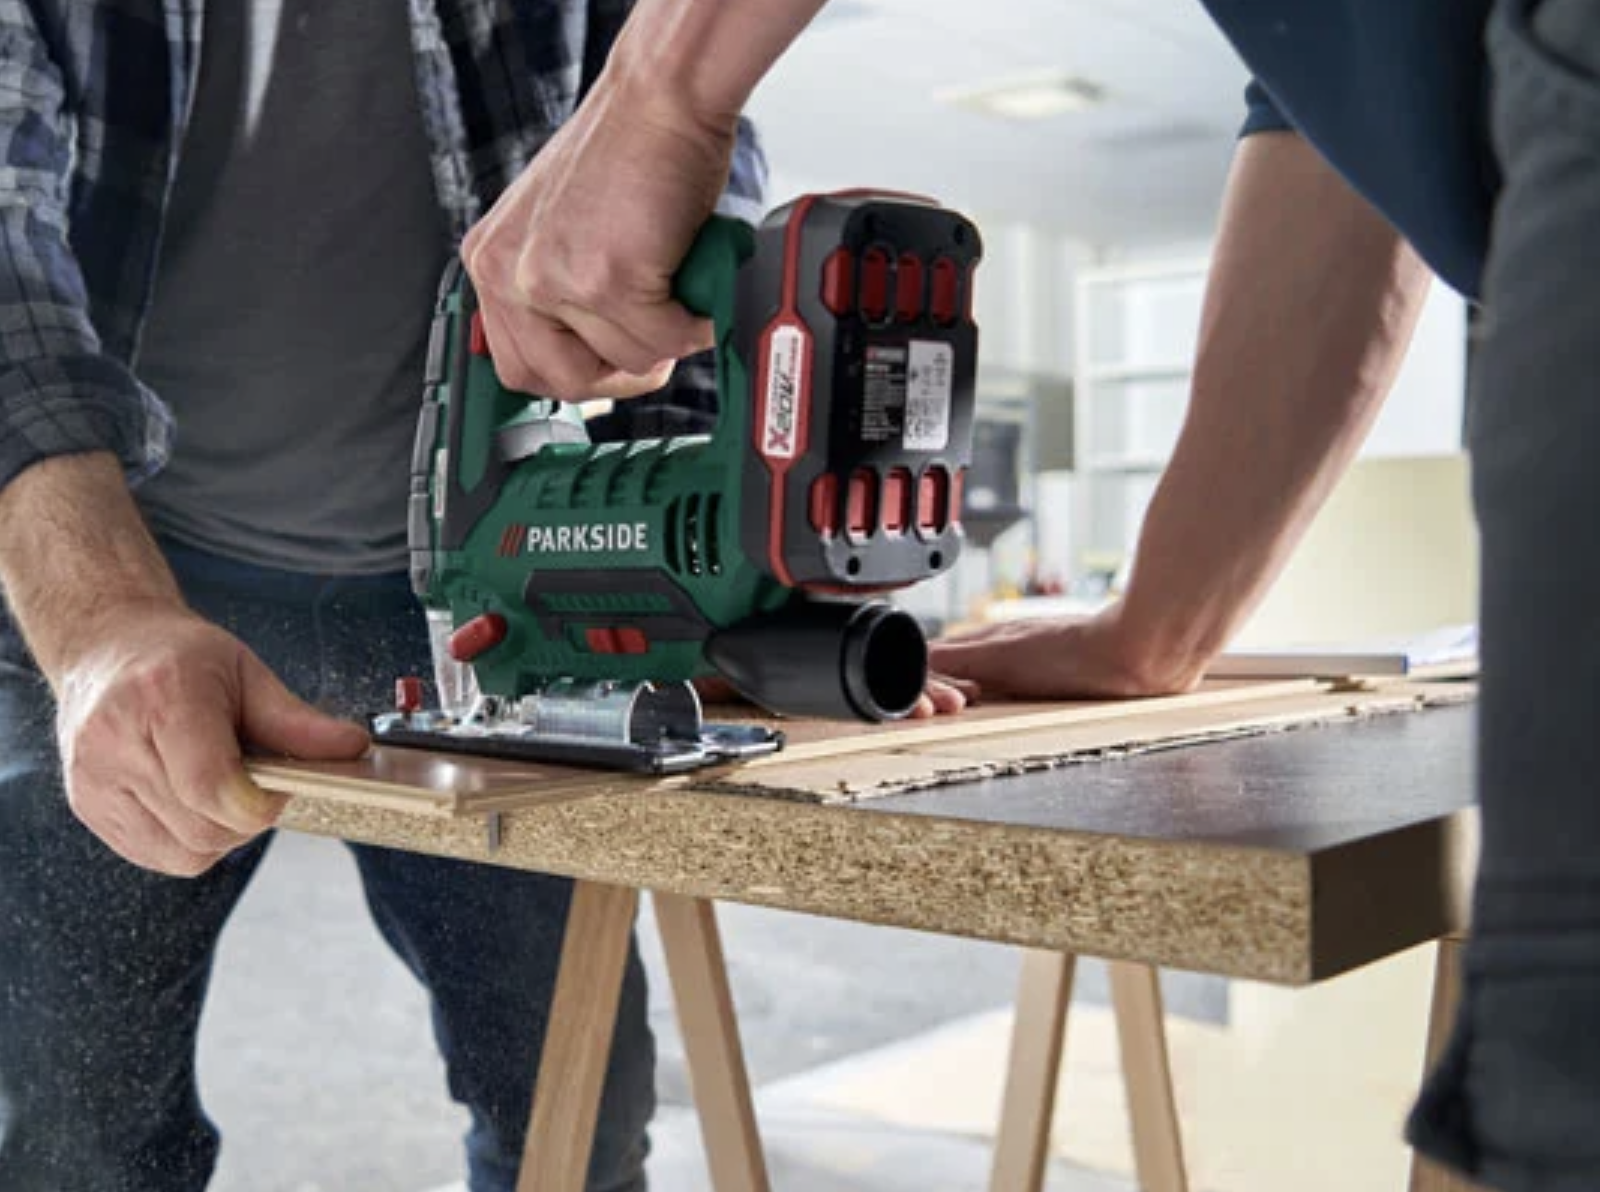 Step 4: Cut
Secure the laminate with bar clamps (insert cardboard or wood in between to prevent damage to the laminate) or work with a partner to keep the laminate from slipping. Cut slowly and carefully to prevent any cracking or fraying.