Sanding Walls: How to Do It Right
Scraping off wallpaper scraps or dealing with uneven drywall compound? You can skip the hassle! We will show you how to get smooth walls in no time and what you need to keep in mind.
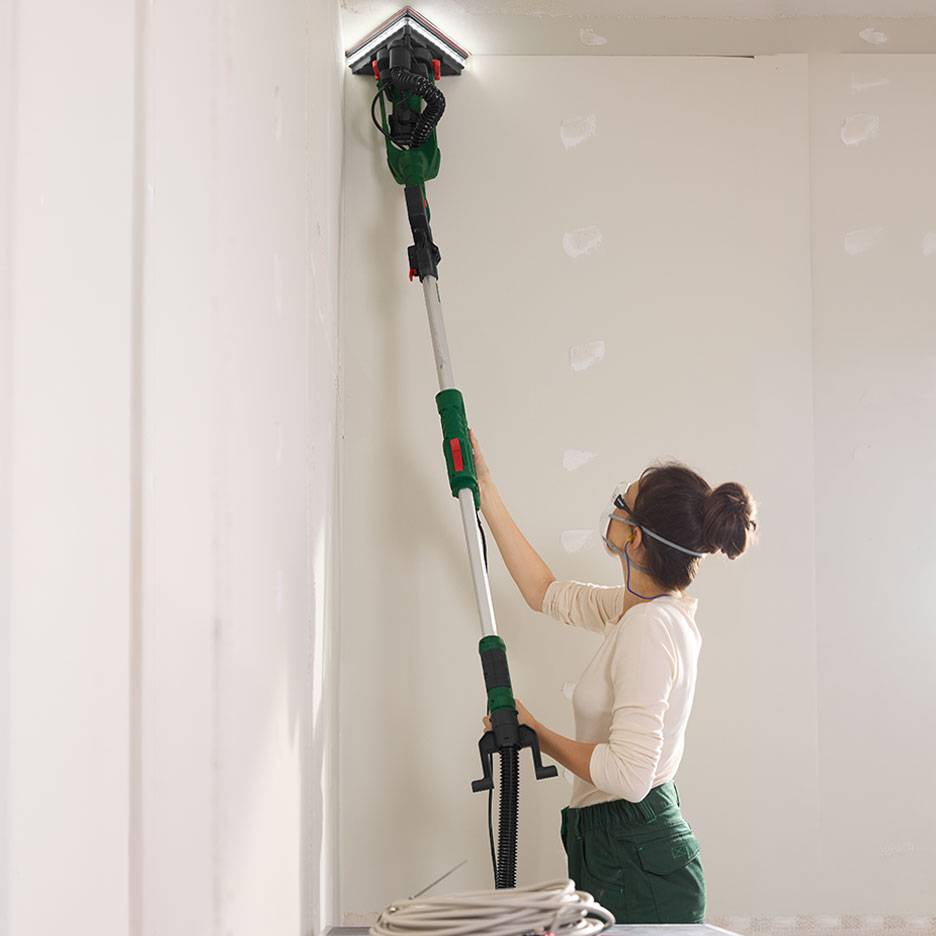
Why do you need to sand a wall?
When you remove old plaster or wallpaper from the wall, small residues usually stick behind. You must remove these uneven spots so that the new wall covering can adhere perfectly and a flat surface is created.
Even if you fill drill holes or repair minor cracks, you should sand the wall. This ensures that the repaired areas are no longer visible after painting.
Sanding walls by hand or machine: Which is best when?
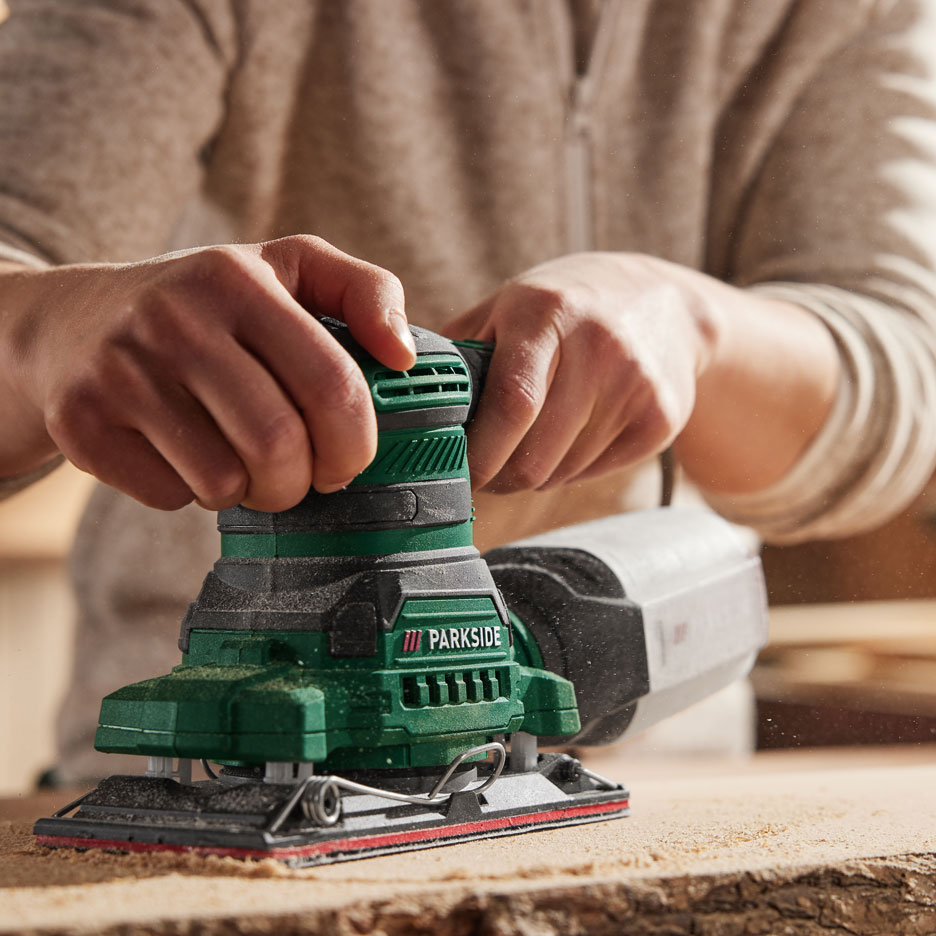
To sand a wall, you will need a sander or hand sanding tools as well as the right abrasive.
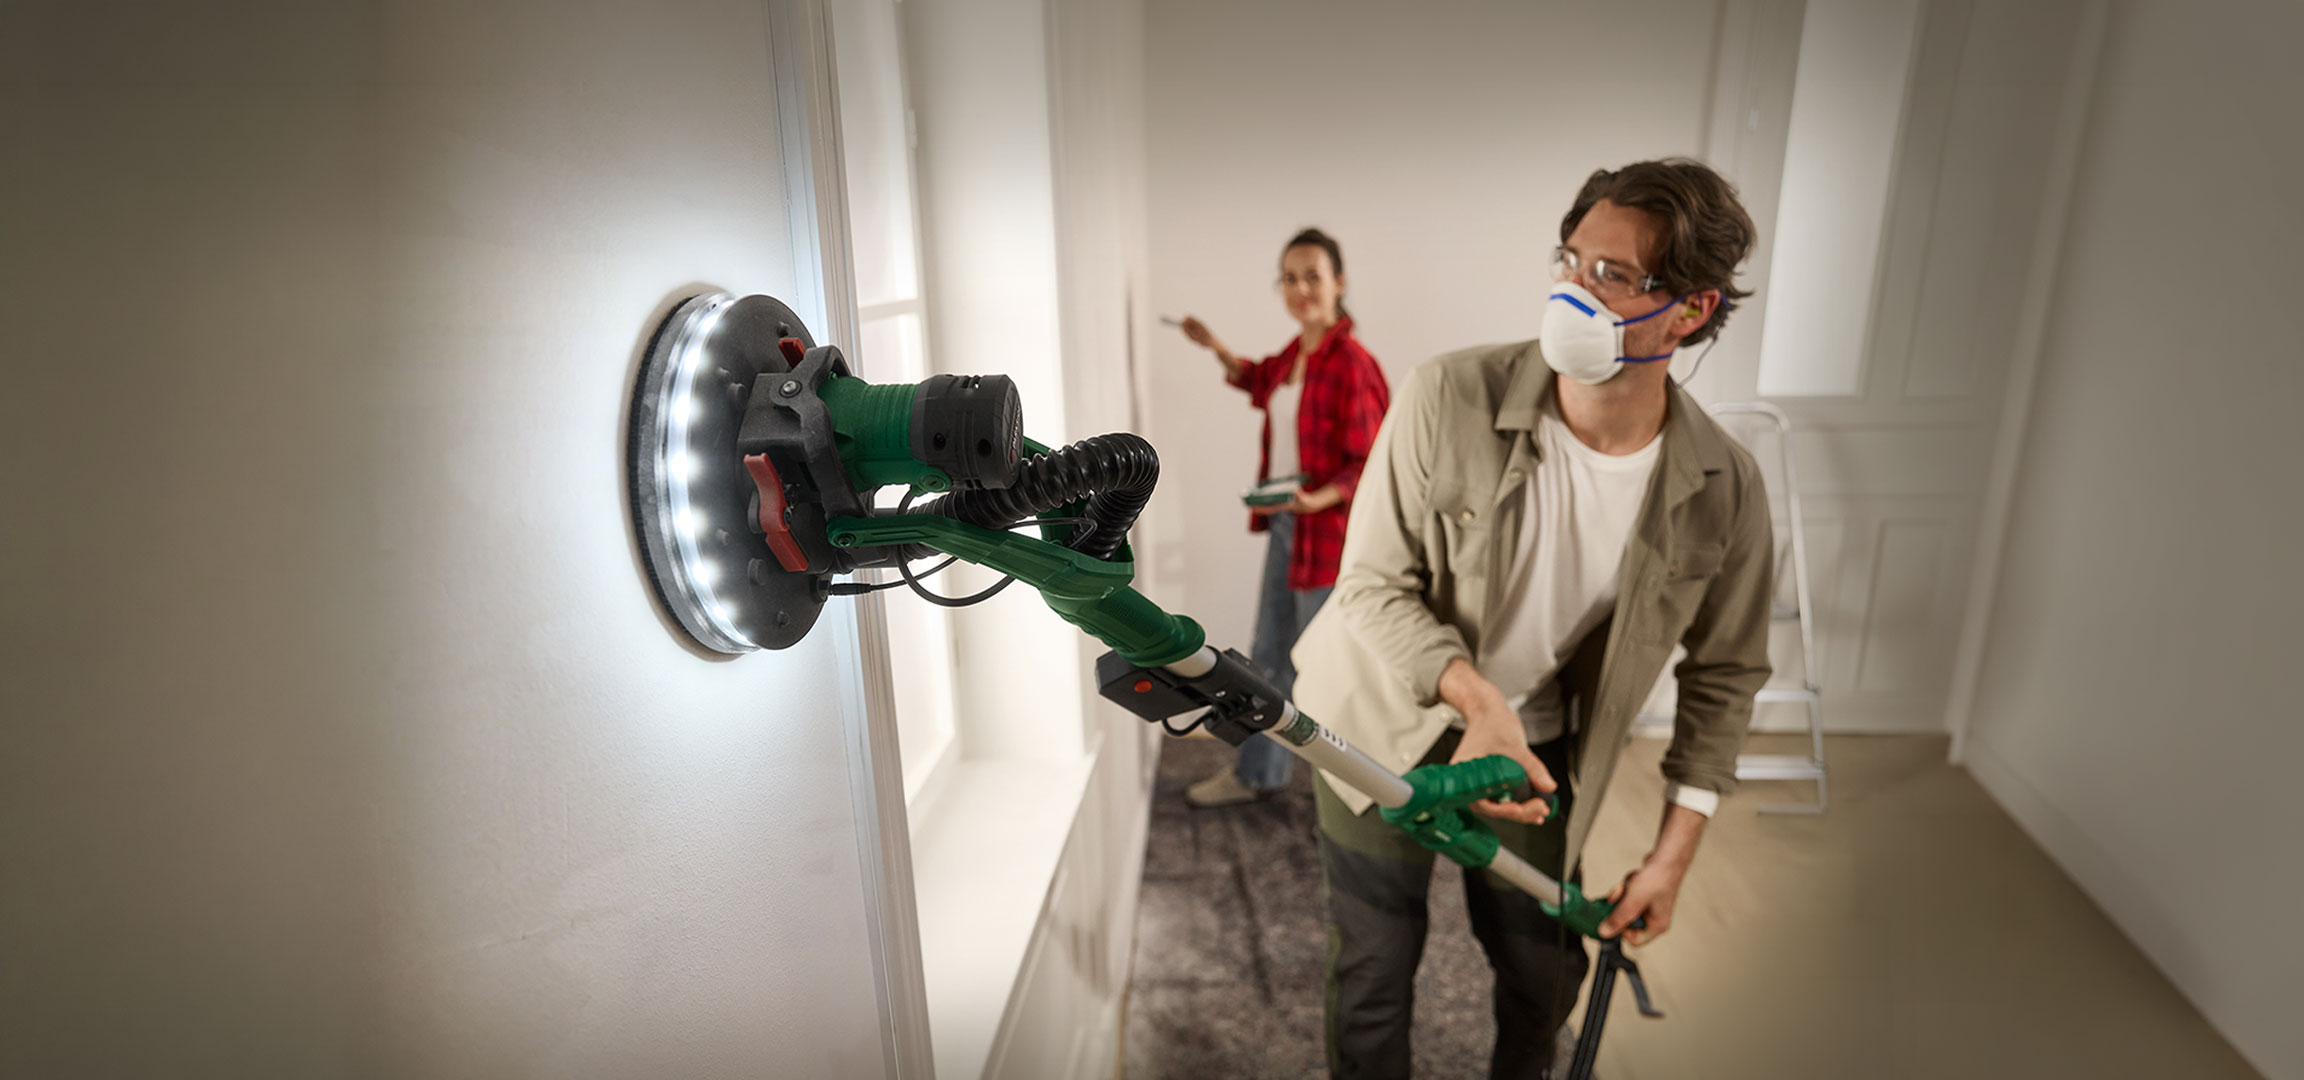
A wall sander (also known as a drywall sander) is best suited for this. As a ceiling or long-neck sander, it is also suitable for high walls and even the ceiling.
Of course, you can also use a sanding block and sandpaper. Sanding by hand is tedious for large areas, but it is an option for touching up small spots.
Our tip: For removing stubborn paint, wallpaper, and adhesive residue, it is best to use coarse-grit sandpaper (< P80). For an extra-smooth finish, choose a fine grit of P240 and above. You can learn more about this in our sandpaper guide.
Sanding Walls: Instructions & Tips
Before you start sanding, make sure to put on safety goggles and a dust mask. If necessary, protect your furniture by covering it carefully. Especially with lime-cement plaster walls, there will be a lot of dust. After that, it is best to work in four steps:
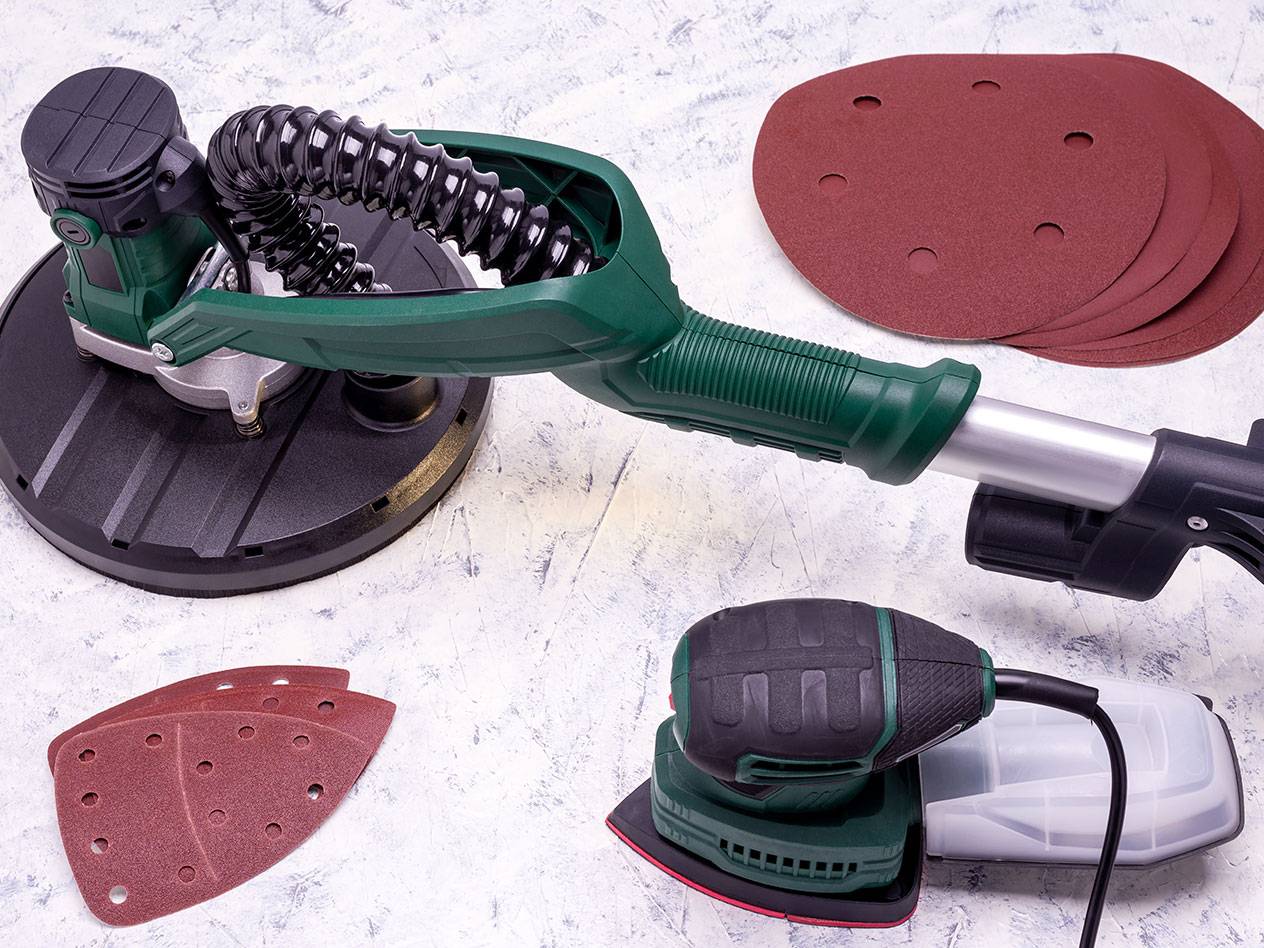
Step 1: Preparation
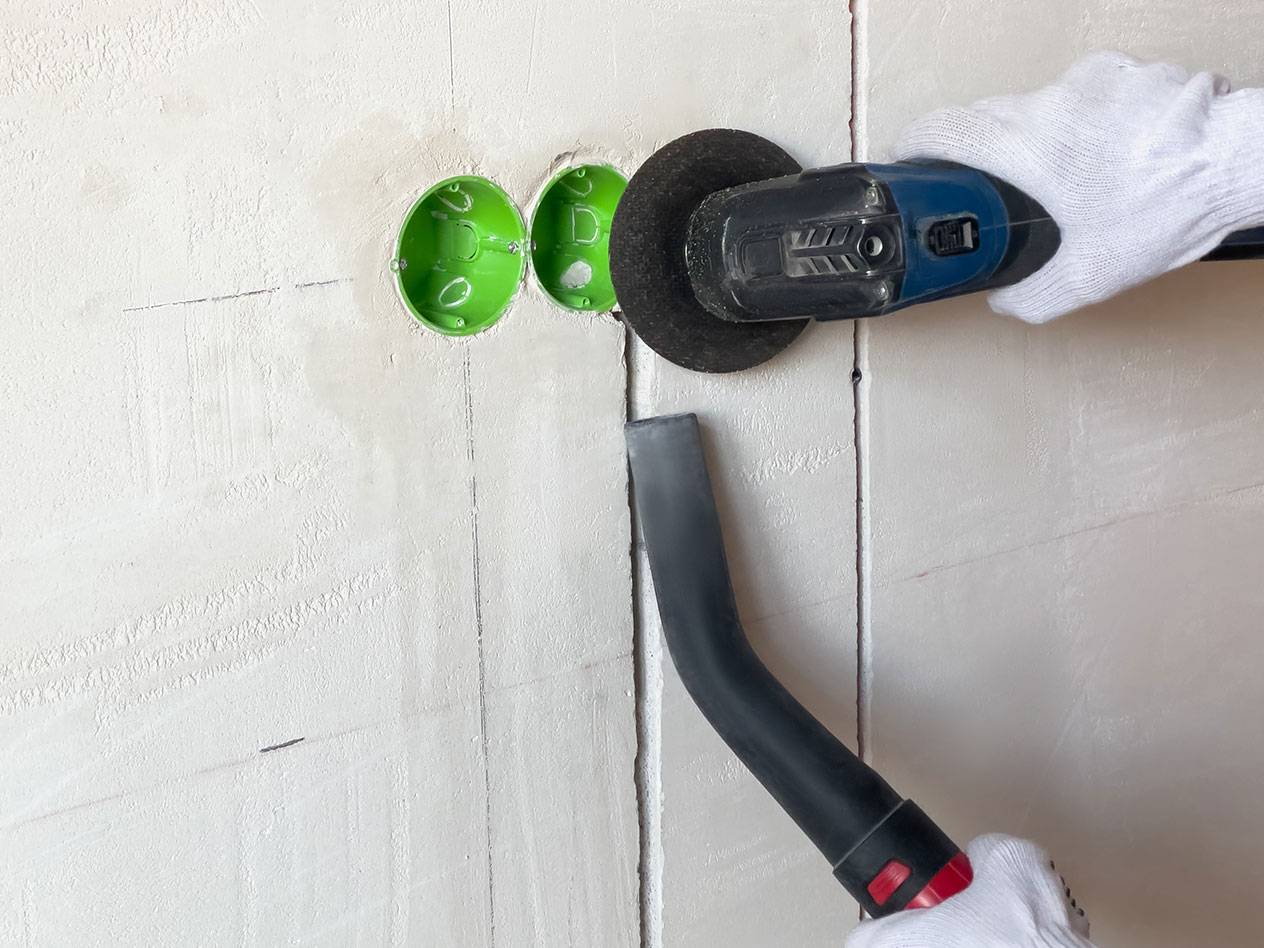
Make sure the plaster is completely dry so that it doesn't get damaged during wall sanding. Attach sandpaper to your drywall sander and connect it to your vacuum cleaner if necessary.
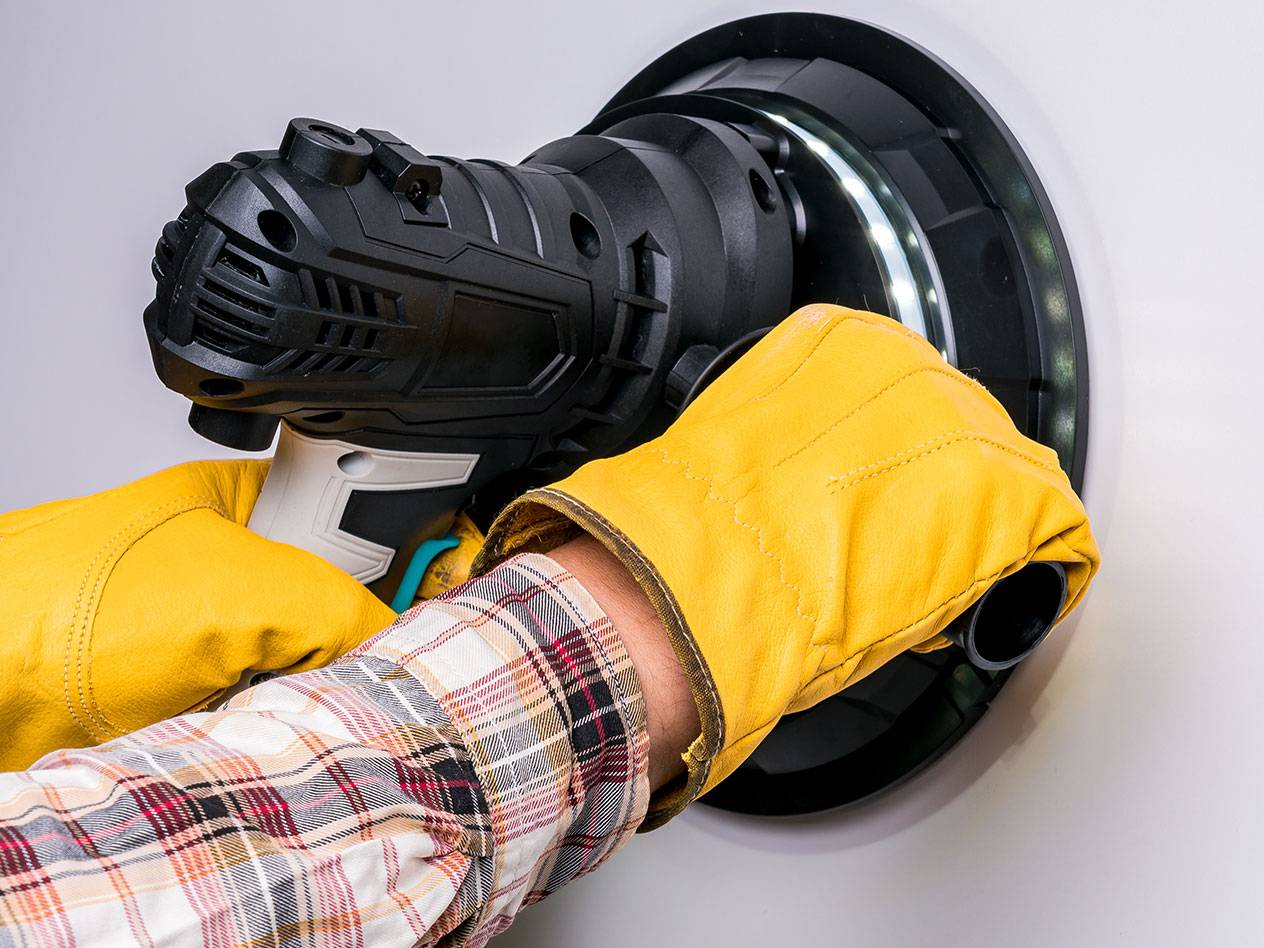
Step 2: Sanding
Place the sanding pad against the wall and begin the sanding process. Do not apply too much pressure and do not use your drywall sander at too high a speed, as this is only necessary if the wall material is particularly difficult to sand down. Move the sander evenly across the wall you are working on.
Pro Tip: You can use the sidelight trick to check if your wall is smooth. Shine a bright flashlight flat against the wall from the side. Even the smallest bumps will cast a shadow, showing you exactly where you need to touch up.
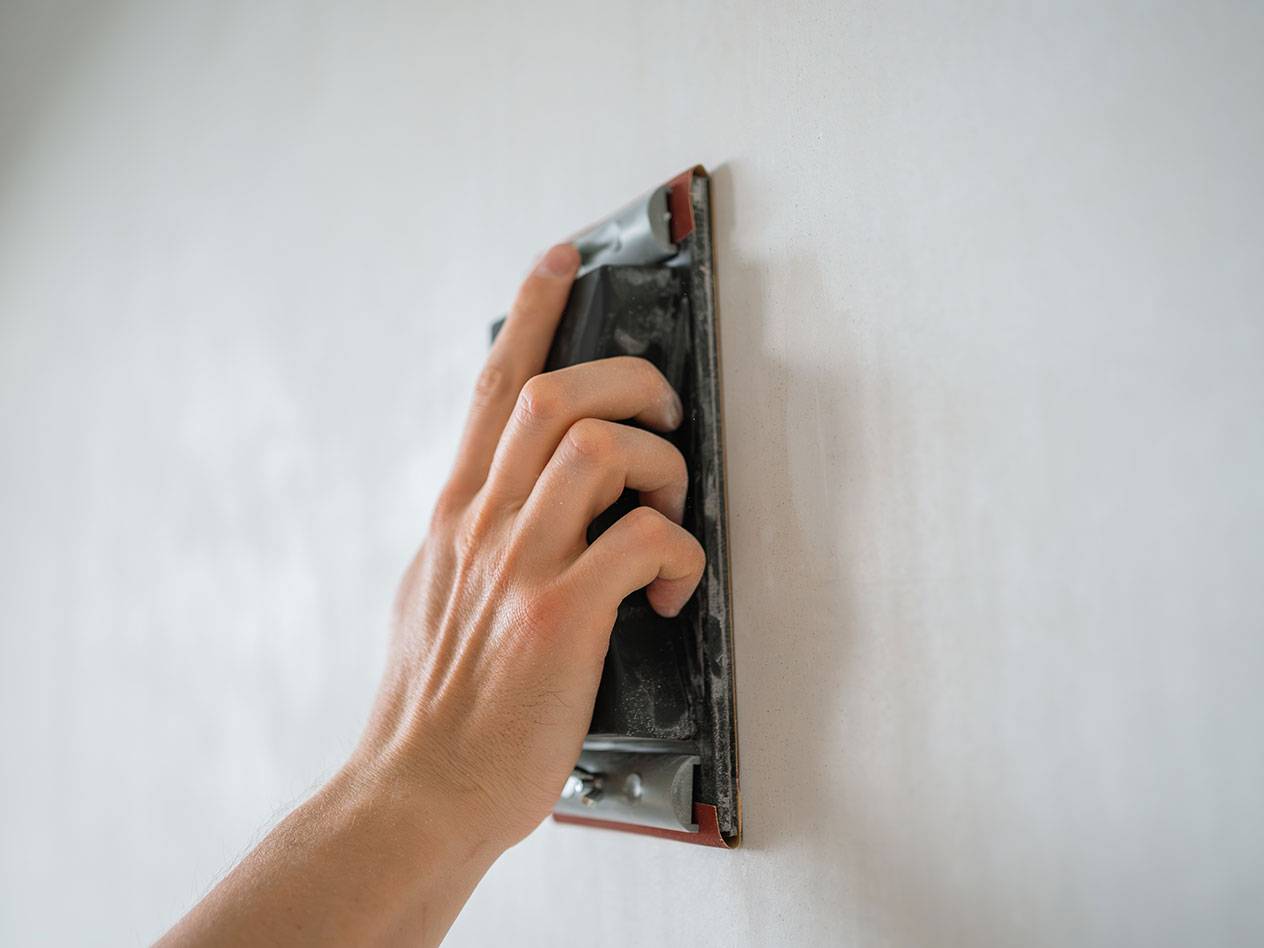
Step 3: Finishing touches (optional)
If necessary, you can do some extra smoothing. Place a fine-grit sanding disc on the pad and sand again, as described in Step 2. Some manual work may be required on corners and edges, as the round sanding pad cannot reach these areas.
Step 4: Clean up
Even if you use a dust extraction function, wall sanding without dust is practically impossible. Remove it either with a vacuum cleaner with a brush attachment or with a wallpapering brush. Afterwards, you can wallpaper or paint.
DIY Tip: Find out how you can work with other materials like wood, even without any experience, in our comprehensive sanding guide.