Fancy something delicious from the oven? Practical tips for home canning
Canning or preserving is a time-honored method to make food last longer. Whether it is an unexpectedly large harvest from your own backyard or a supermarket deal you just could not pass up: canned foods make great pantry staples, last for several months, and help prevent food waste. Canning in the oven is especially convenient and practical.
Reasons for Oven Canning
Canning in the oven might sound unusual at first, but it has a huge advantage compared to other preserving methods: more jars can fit on the baking sheet than in a standard pot – meaning you can preserve more food at once. This is especially important when you have a wide variety or large quantities of ingredients ready to go.
How home canning works
The principle of home canning harnesses the physical phenomena of overpressure and vacuum. When heating the food to be canned in tightly sealed jars, an overpressure is initially created as warm air and water vapor expand inside the jar. As soon as the jars cool down, the air and steam contract again. This creates a vacuum, which virtually "sucks" the lid in place, sealing the jar airtight. By previously sterilizing the jars, sterility is guaranteed – the canned food then has an almost endless shelf life.
Guide: Oven Canning and Preserving
Before you start canning, make sure you have all the necessary utensils ready so that your preserving experience is smooth and stress-free.
Shopping and Equipment List
- Mason jars with lids
- Dish towel
- Funnel
- Baking sheet or roasting pan
- Preserving ingredients
- Sugar (optional)
- Liquid (water, vinegar, broth, juice, or wine)
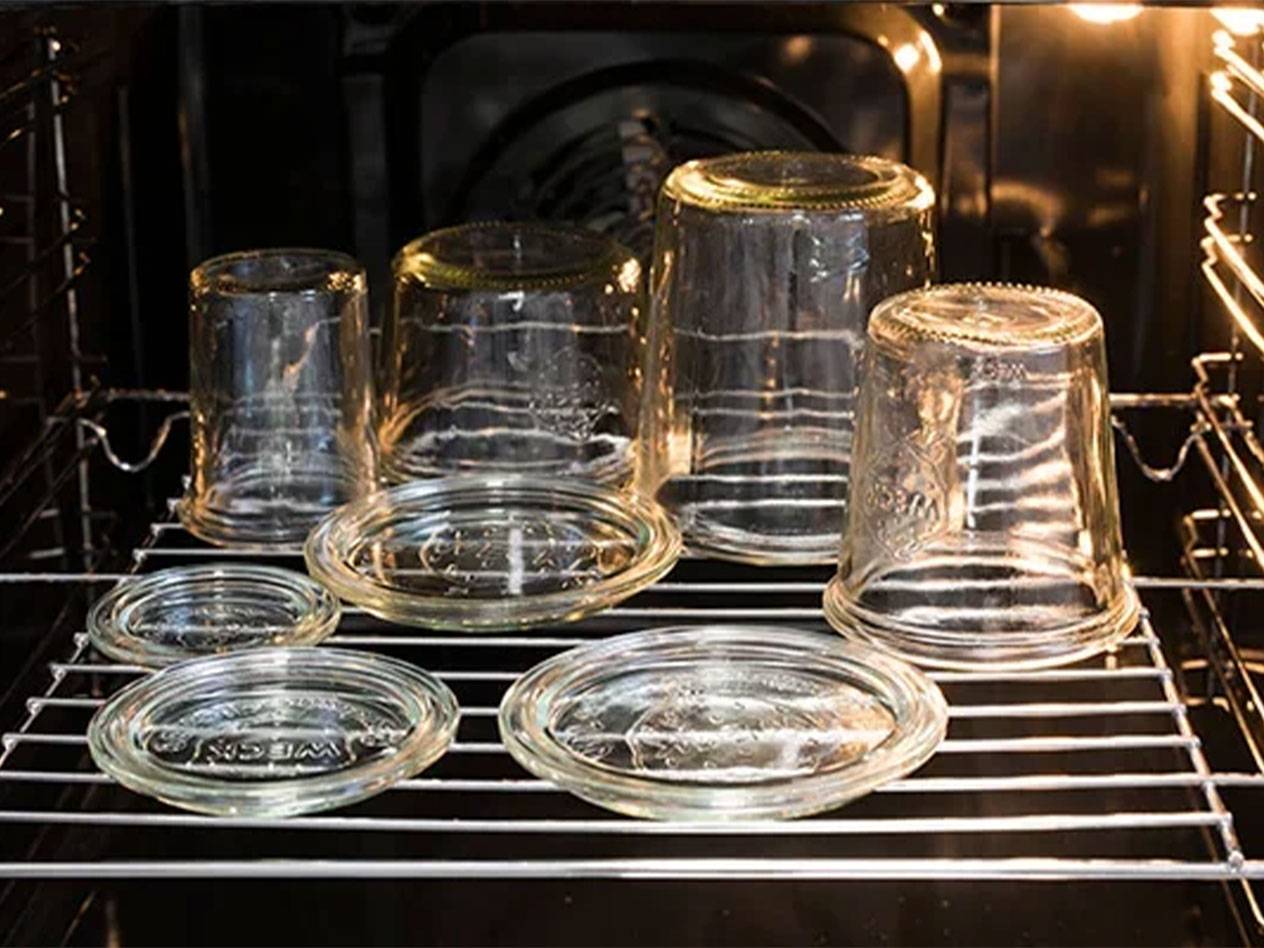
Step 1: Sterilize the jars
First, the preserving jars must be sterilized. To do this, you can briefly boil the jars in hot water or rinse them with boiling water. Afterward, you must dry the jars thoroughly. Alternatively, you can heat the screw-top jars in the oven for 10 minutes at 350 °F. Boil the lids and rubber rings in vinegar water for 5 minutes and lay them out to dry as well.
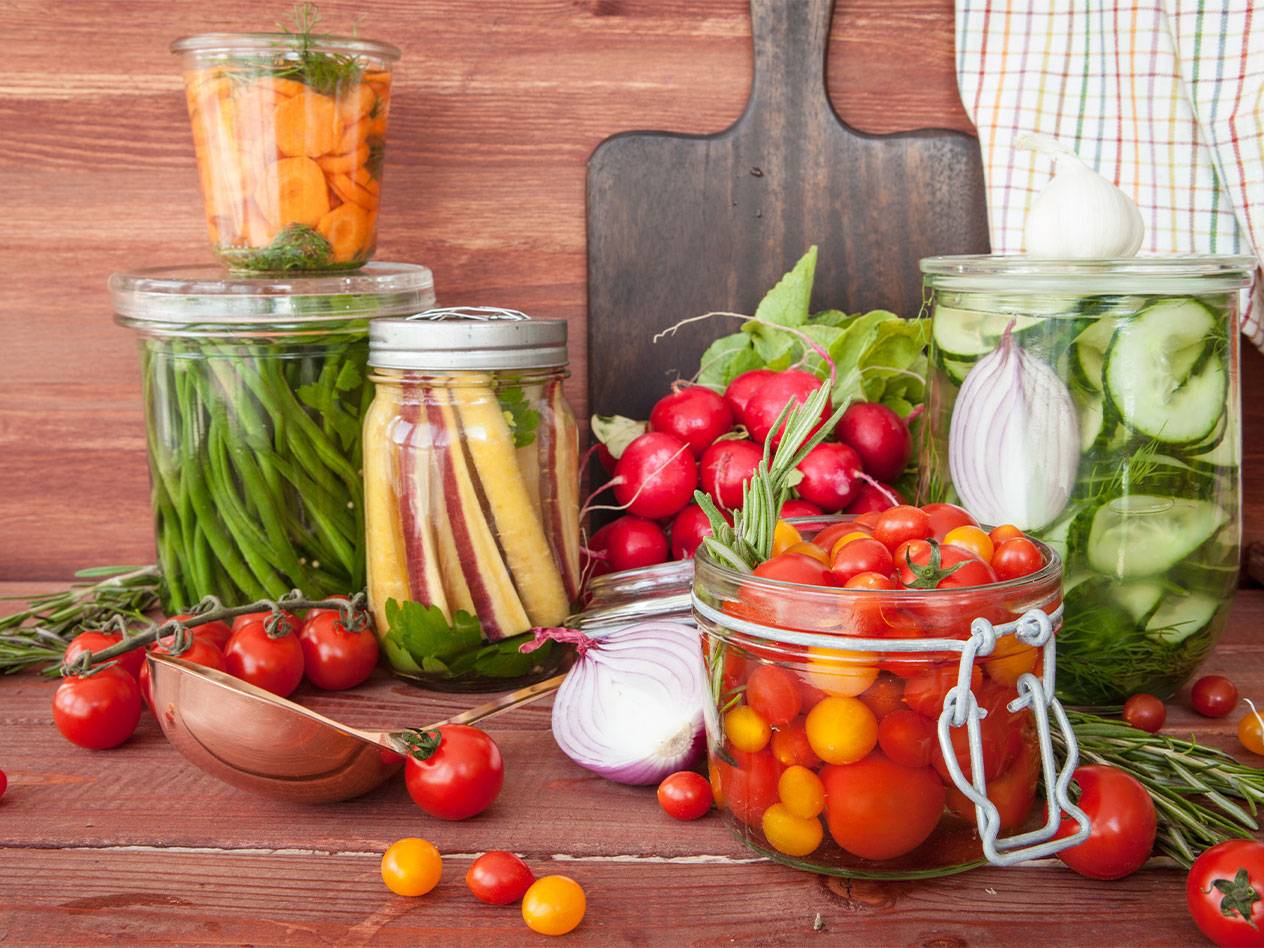
Step 2: Prepare the filling
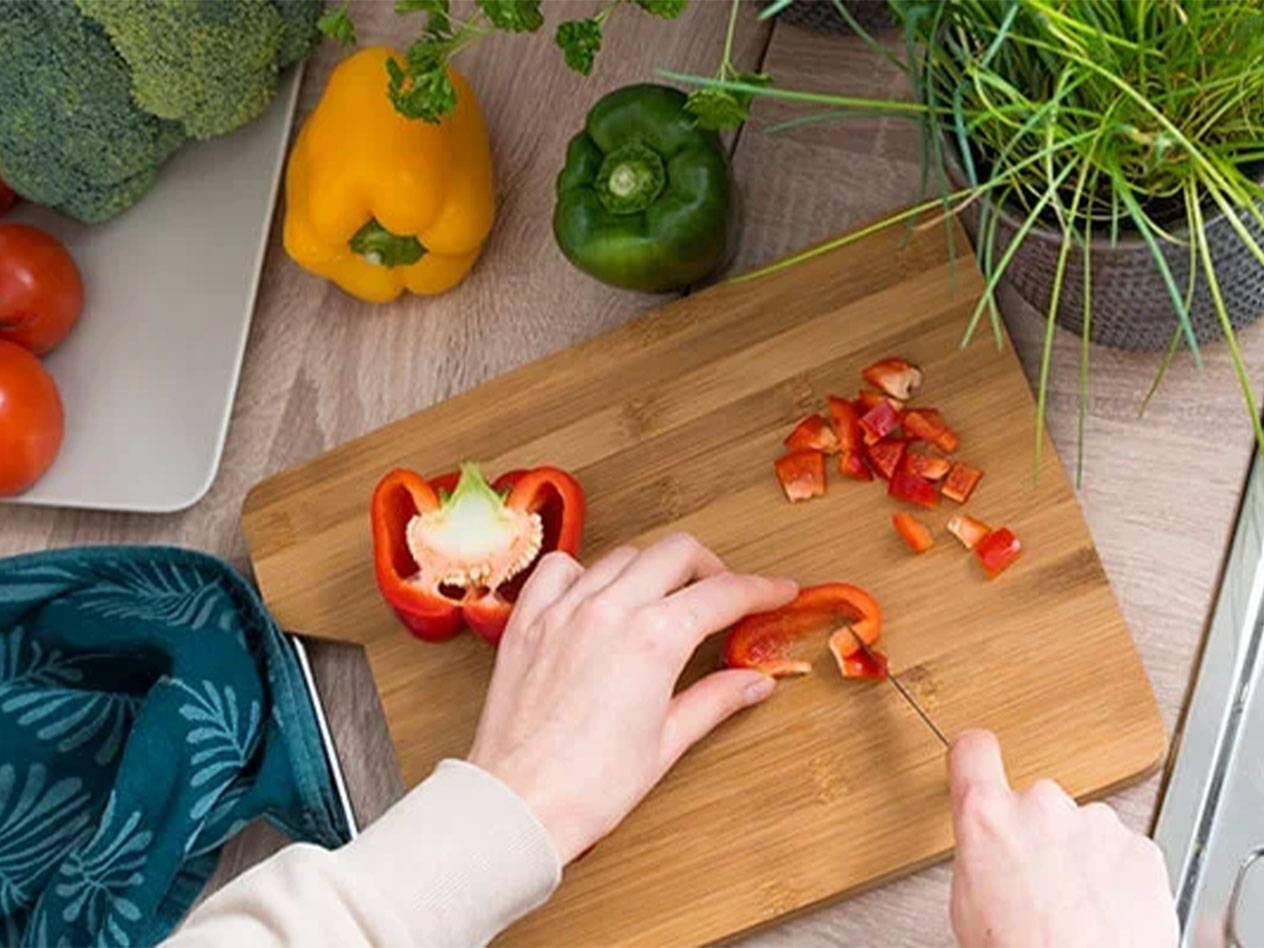
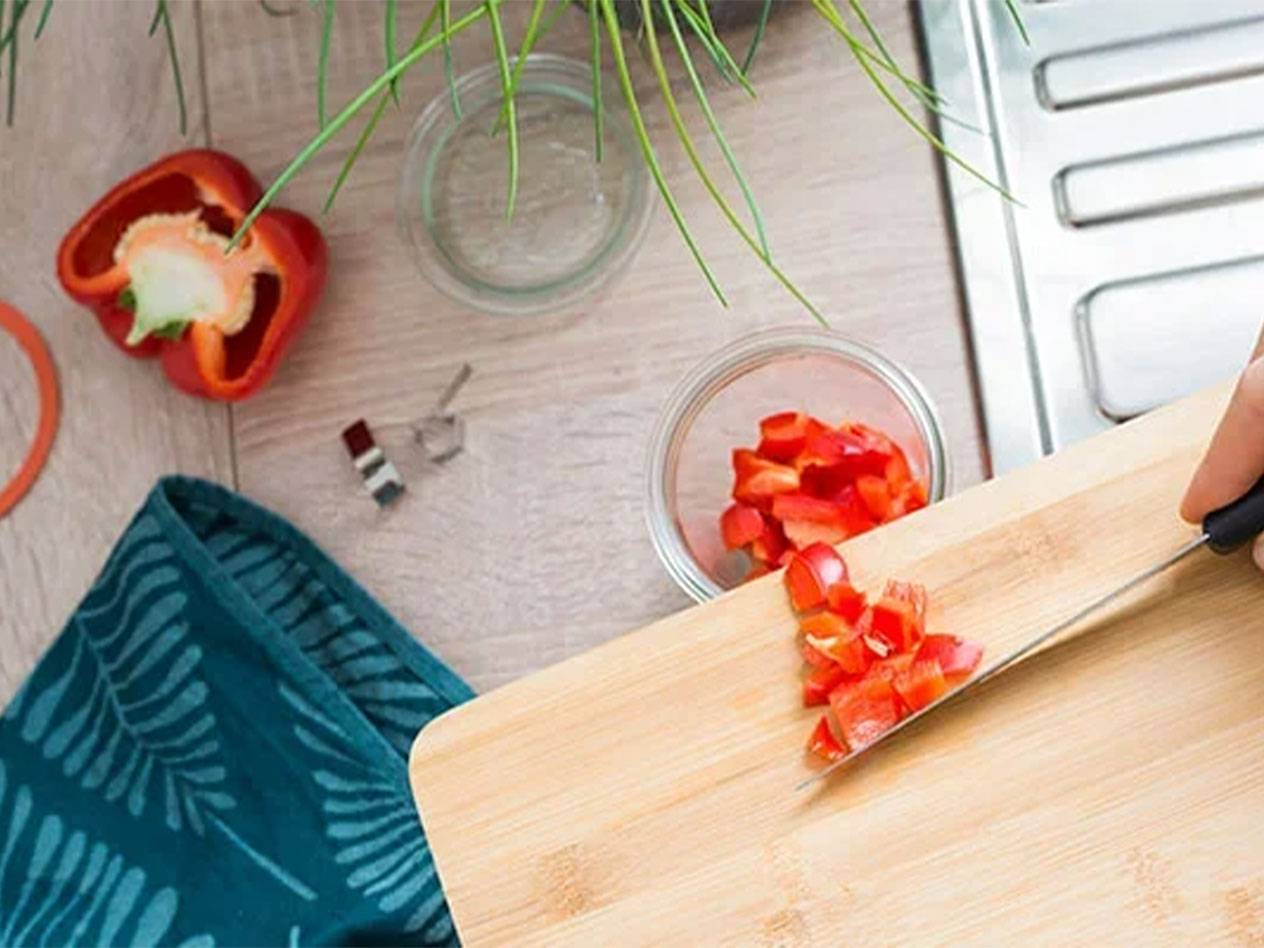
While the jars are boiling or cooling down in the oven, you can prepare your filling. Depending on the type of food you choose to preserve, you will need to wash, core or stone, and chop the fruits and vegetables. Smaller pieces are better than large chunks: the more tightly packed the pieces are in the jar, the better they will preserve.
Step 3: Fill the jars
Once the jars have cooled and dried and your ingredients are prepared, you can begin filling them. It is essential to keep the rims completely clean. Using a funnel can be very helpful here. Next, pour the matching liquid over the ingredients. After filling, leave about 3/4 inch (2 cm) of headspace at the top. Put the lid on as quickly as possible and screw or clip it tight.
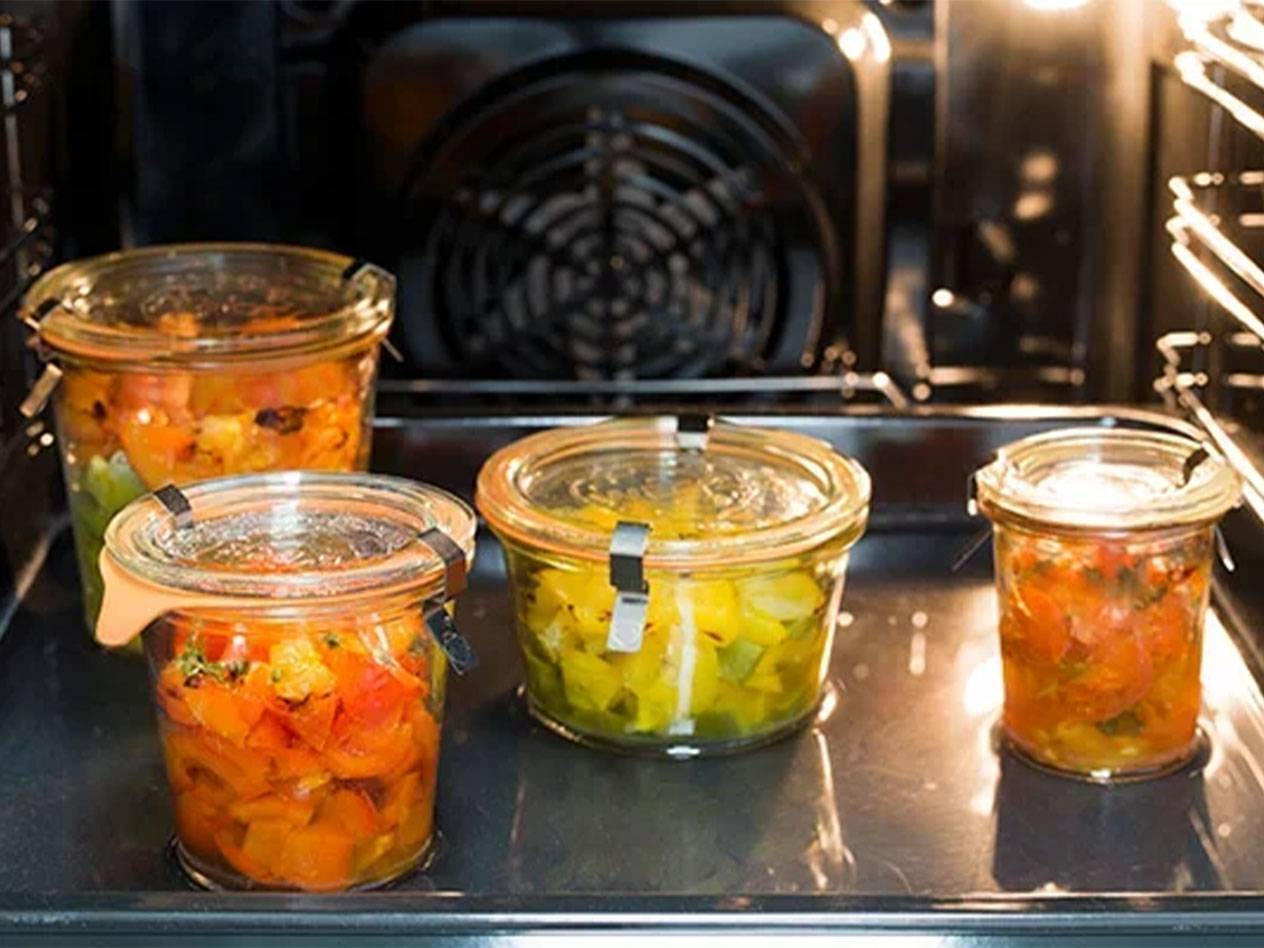
Step 4: Place the jars in the oven
Now, the actual canning process begins. Place the sealed jars into the drip pan and fill it with 2 to 3 cm of cold water. Slide the baking sheet with the jars into the oven and set the temperature. You can't go wrong with 175 °C (350 °F) conventional heating (top/bottom heat). As soon as the water bath begins to boil, turn off the oven and let the jars sit inside for another 30 minutes.
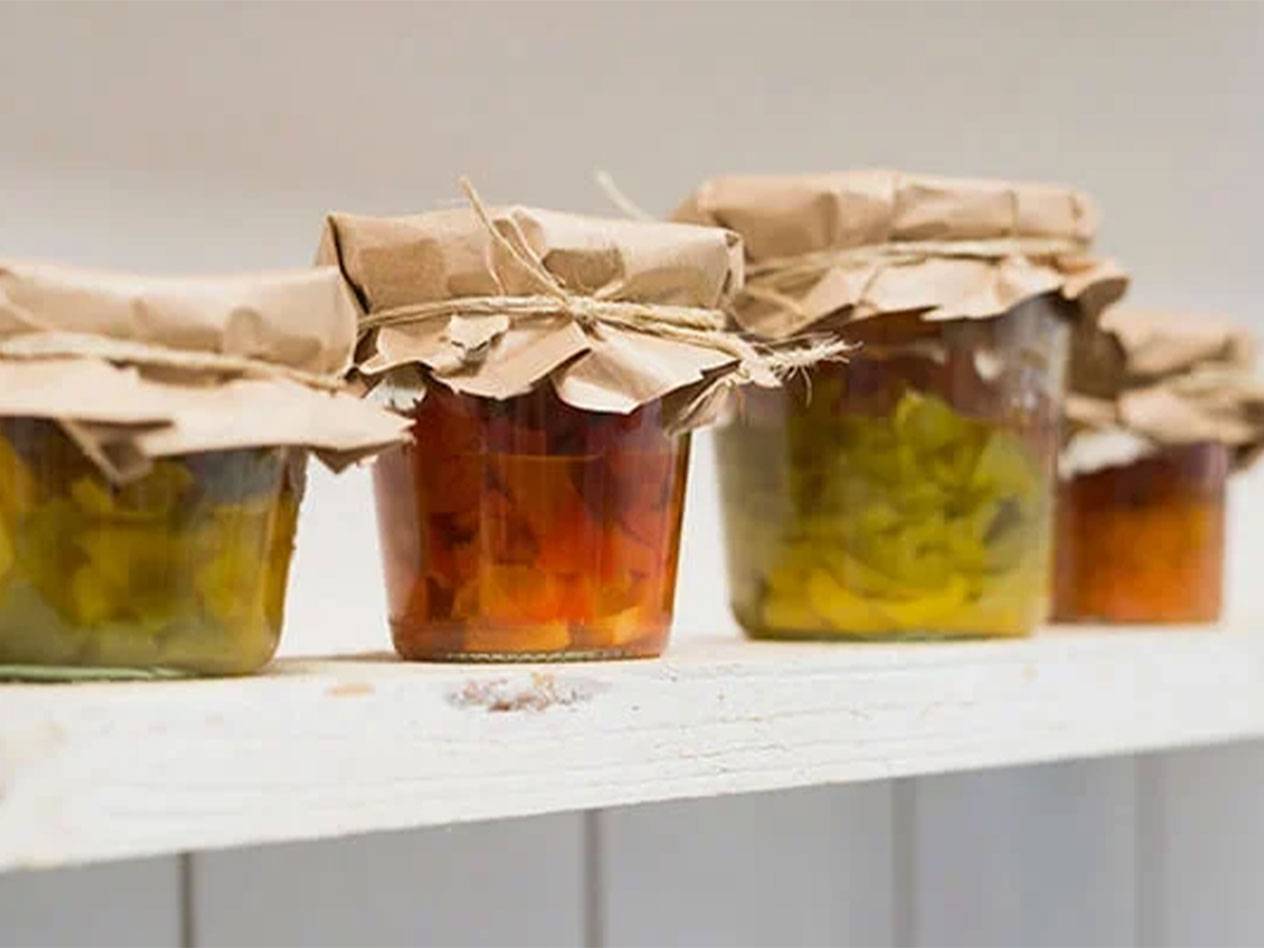
Step 5: Cool down and store
Next, remove the jars from the oven and let them cool down. Check if the jars are truly airtight: release the clamps on jars with wire bail closures and lift them by the lid. If the canning was successful, the lid should stay firmly in place. For mason jars with metal screw-on lids, you can recognize the vacuum by the lid being slightly pulled inward. If everything is secure, you can label the jars and store them in a cool place out of direct sunlight.
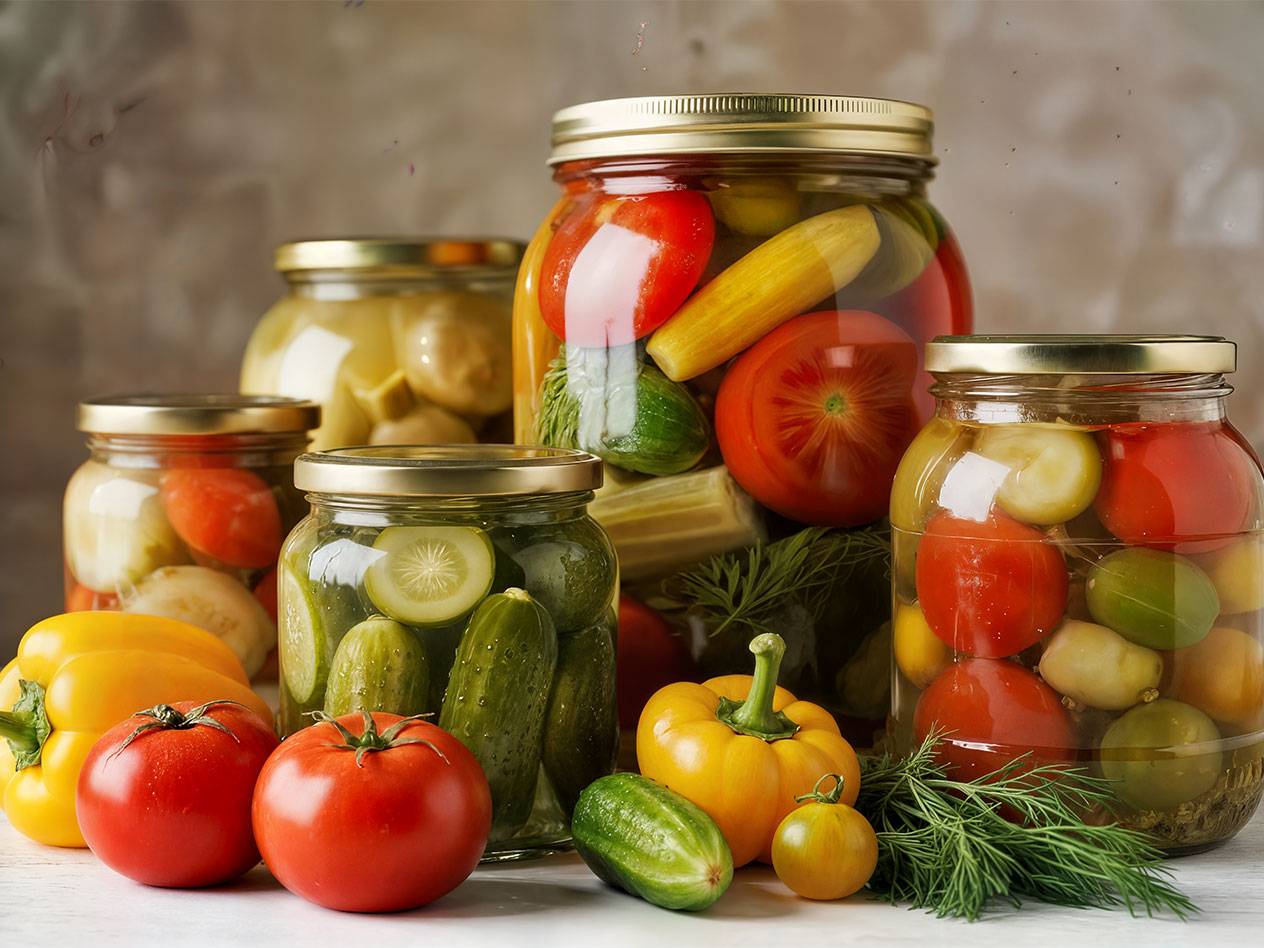
What can I preserve in the oven?
There are no limits to your creativity when it comes to oven canning. In theory, you can preserve anything that tastes great and needs a longer shelf life. However, certain fruits and vegetables are especially popular.
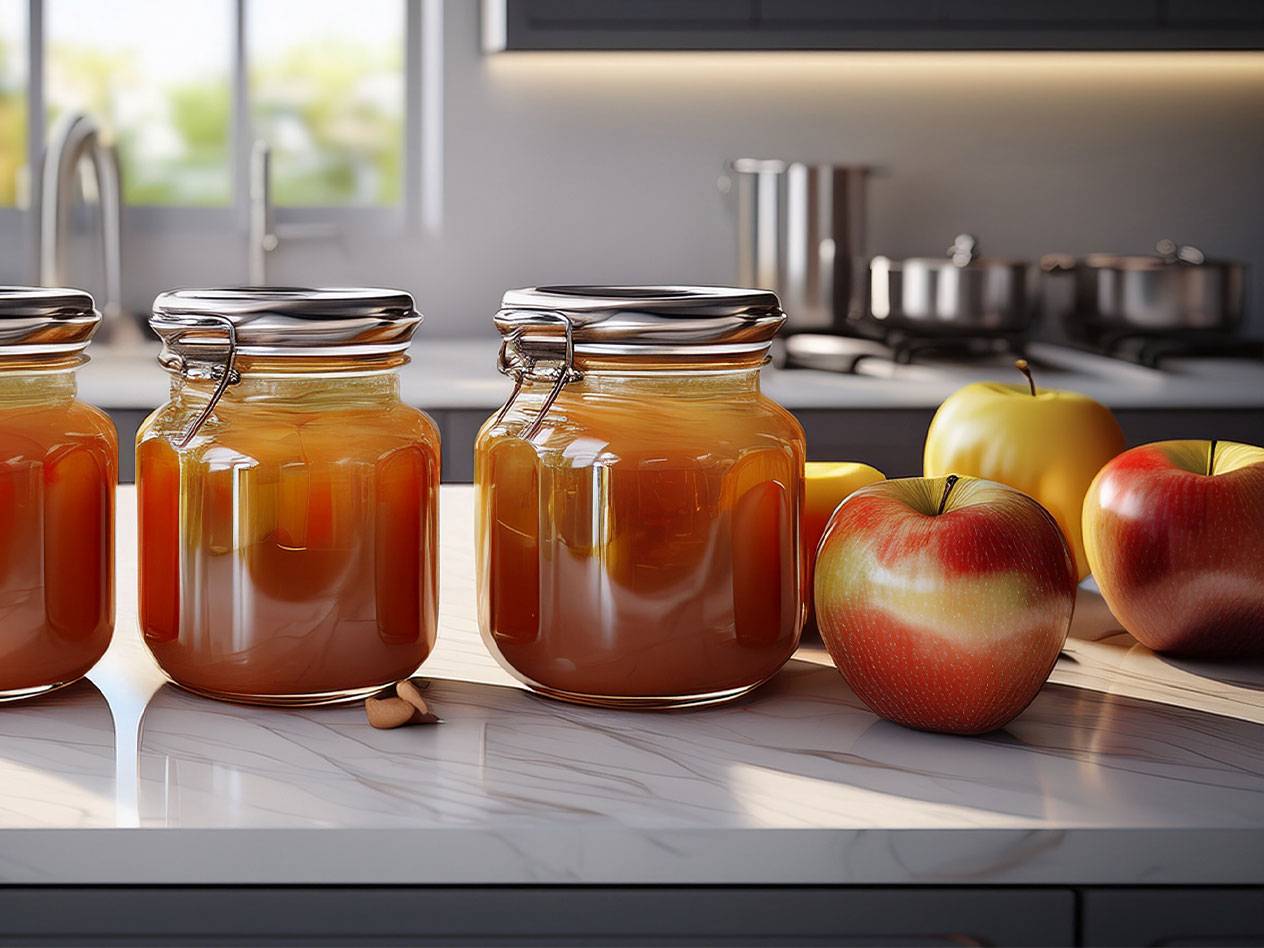
Fruit
There are various ways to preserve fruit: You can either can whole fruits or fruit pieces, which can then be turned into compote or puree. In any case, the fruit should be ripe and free of any bruised spots to achieve the best results. Sugar water, wine, or fruit juice can be used as the liquid. Depending on your taste, lemon juice or spices like cinnamon can also be added.
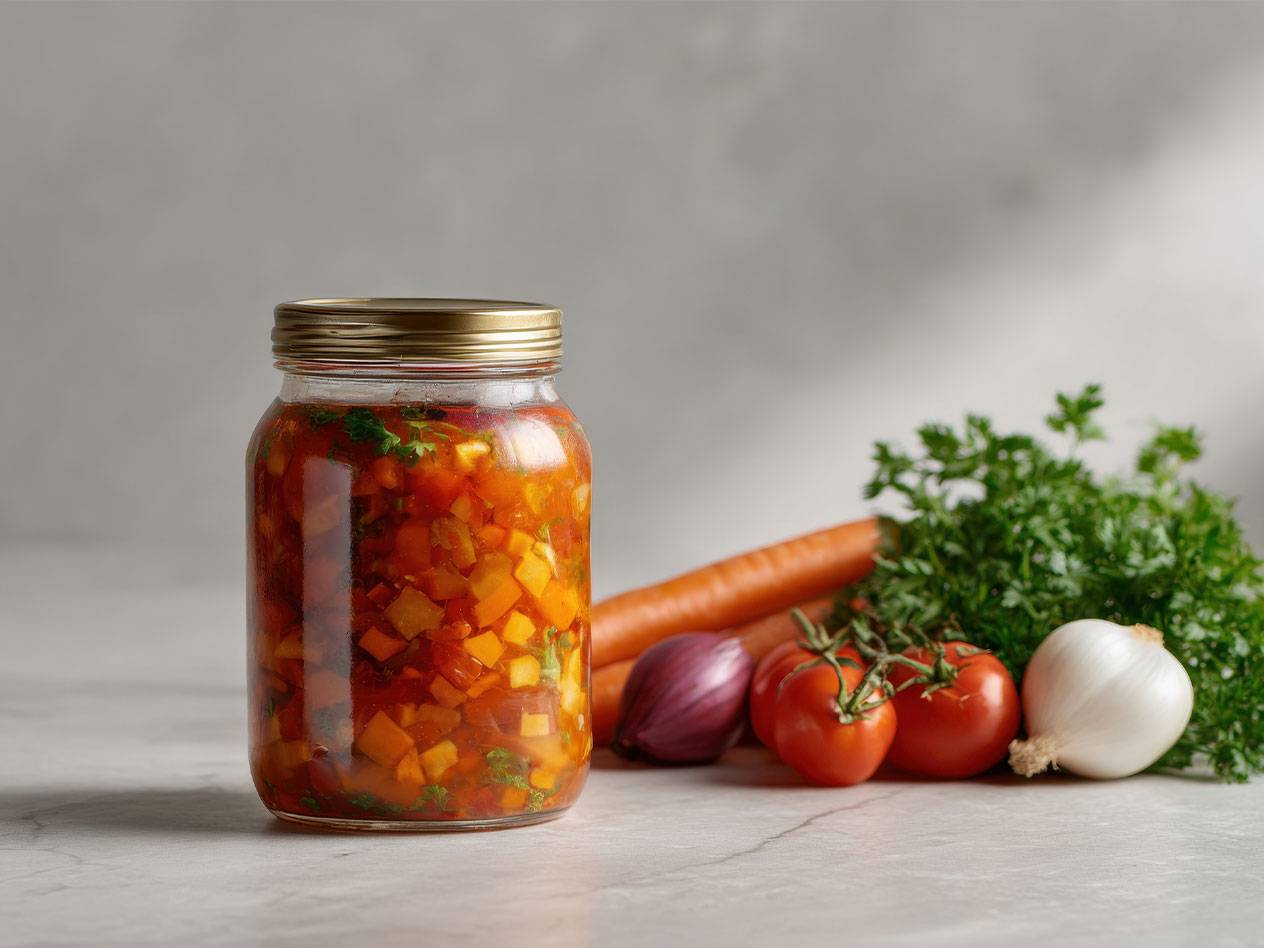
Vegetables
Any vegetable can also be easily preserved. If you like, you can blanch the vegetables beforehand, but generally, any variety can also be preserved raw. Broth, plain water, and a splash of vinegar as well as spices are used to fill up vegetables.
Particularly well-suited for canning are, among others:
Fruit | Vegetables | Other |
|---|---|---|
Apples, pears, strawberries, cherries, peaches, plums | Beans, cucumbers, cabbage, pumpkin, carrots, tomatoes, zucchini | Broth, meat, cake, jam, juices, lard, gravy, sausage |
Alternatives to preserving in the oven
There are numerous alternatives to preserving in the oven. Traditionally, preserving is often done in a pot on the stove. The jars can also be heated quickly and easily in a steam cooker and pressure cooker. If you have less patience, you can use twist-off jars: here, the ingredients are filled hot instead of cold, the jars are sealed and turned upside down for a few minutes. The jars are then turned back over and allowed to cool. For true preserving fans, a special electric preserver might also be an option.